¶ Queues
The Omnichannel feature uses Messaging Queues to efficiently organize and direct incoming customer interactions. Each queue is set up for specific topics or departments, ensuring messages are routed to the right place.
Here’s how it works:
1. Queue Types
Each queue is designated for a specific type of interaction, such as customer support or order inquiries. This helps manage and respond to messages more effectively.
2. Message Distribution
Queues use two main strategies for handling messages:
- Manual Assignment
Supervisors or agents manually assign messages to themselves or other team members. - Auto Assignment
Messages are automatically distributed based on predefined rules, which helps provide quicker responses.
3. Agent Allocation
A set number of agents are assigned to each queue. You can define operation hours for each queue to match business shifts or peak periods, allowing for flexible resource management.
4. Returning Customers
The Auto Assignment feature can even recognize returning customers, ensuring that their messages are handled by the appropriate agent familiar with their history.
5. Customer Surveys
After interactions are handled, surveys can be sent to customers to collect feedback. This helps in evaluating the quality of service and identifying areas for improvement.
By utilizing Messaging Queues, businesses can reap several benefits:
- Improved Customer Experience: Streamlined message handling means faster and more accurate responses.
- Efficient Resource Allocation: Assign agents based on expertise or availability.
- Flexibility: Adapt queue settings to match varying customer needs and operational demands.
Implementing Messaging Queues thus contributes to a well-organized, responsive, and efficient customer service operation.
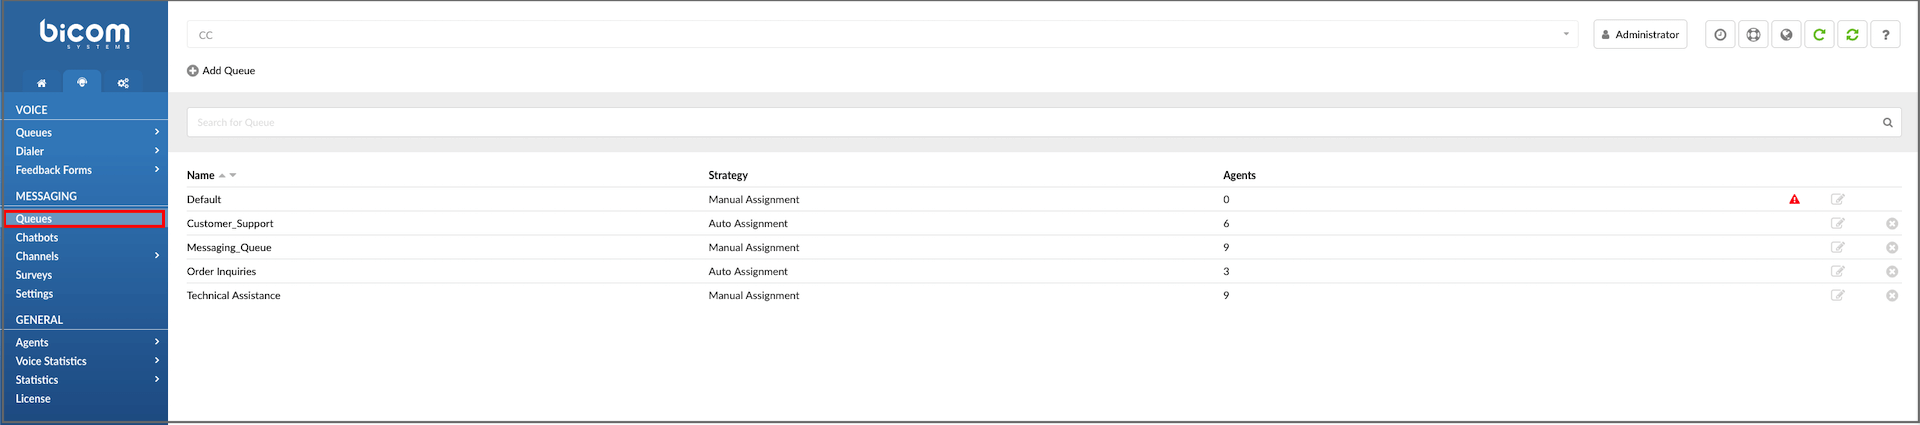
The landing page provides the following information:
- Name
This field displays the name of the queue, such as "Support," representing the purpose or department associated with the queue.
(E.g., Marketing, Sales, Customer_Support)
- Strategy
This field specifies the queue strategy, dictating how incoming tickets are allocated to agents. For example, in a 'Manual Assignment' strategy, agents assign tickets to themselves manually.
(E.g.,Manual Assignment or Auto Assignment)
- Agents
This field displays the number of agents currently assigned to the queue. For instance, it could be "5" agents who are members of the queue.
- Warning Sign
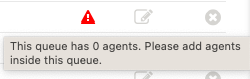
A warning icon appears if no agents are present in the selected queue. Hovering over this icon will display a warning message.
- Edit

Clicking this button allows users to edit the configuration settings of the queue, such as its name, strategy, or assigned agents.
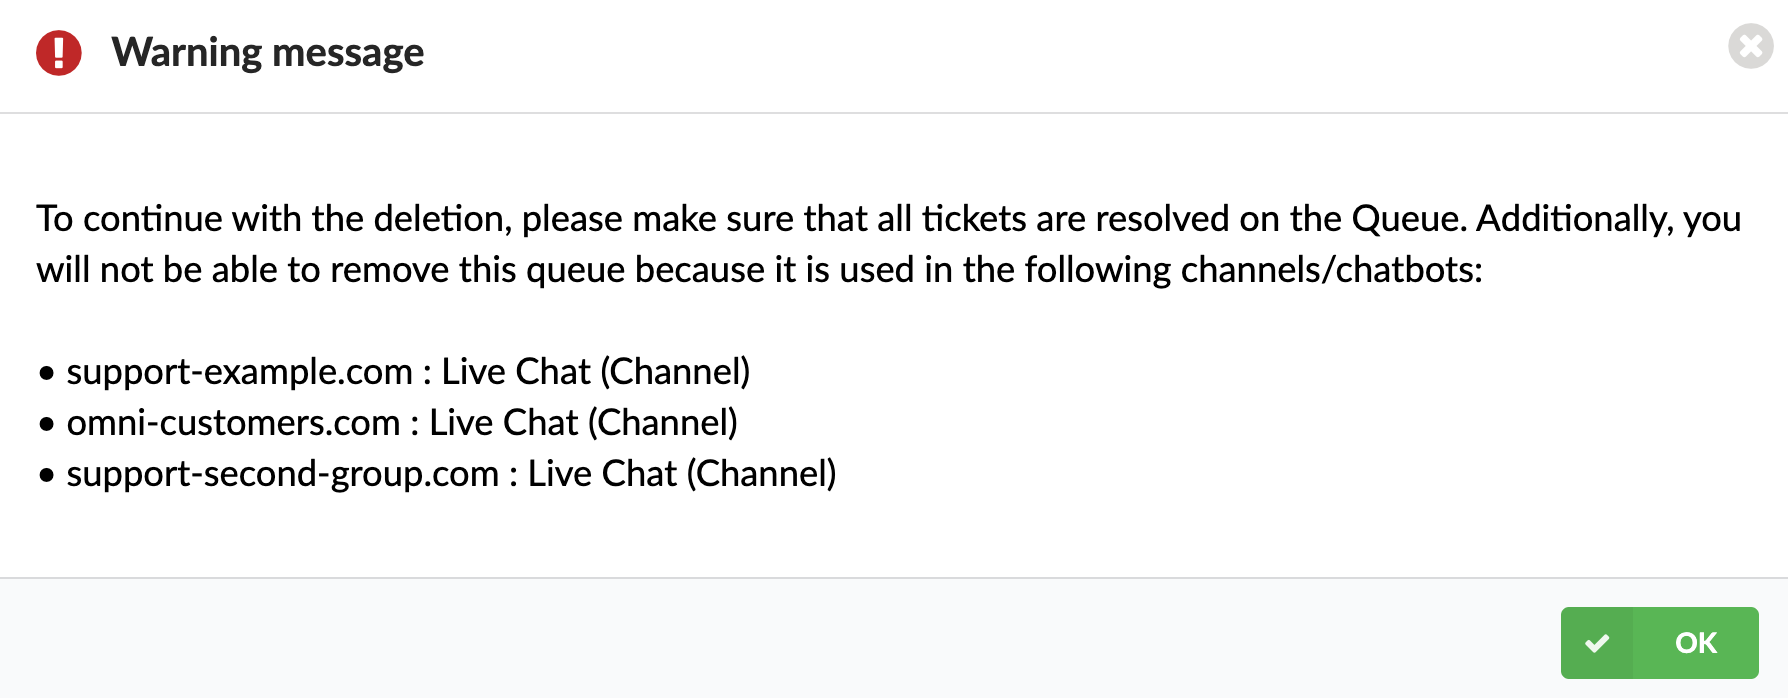
- Delete

This button enables users to remove the queue from the system. When clicked, a confirmation prompt may appear, asking for confirmation before permanently deleting the queue.
NOTE: To proceed with deleting the Queue, ensure that all tickets within the Queue are resolved. You will not be able to remove this queue if it is being utilized by the following channels or chatbots.
¶ Search
The search feature allows users to search for a specific queue by its name, making it easier to locate and access queues within the system.

(E.g., Queue name: "Customer_Support")
¶ Add/Edit Queue
In the Queues section, you can add a new Queue by clicking the "Add Queue" button. Once you have created a Queue, you can add specific agents to that Queue by choosing from the list of available agents just like in the voice Queues. You can also give your Queue a name so that it is easily recognizable.
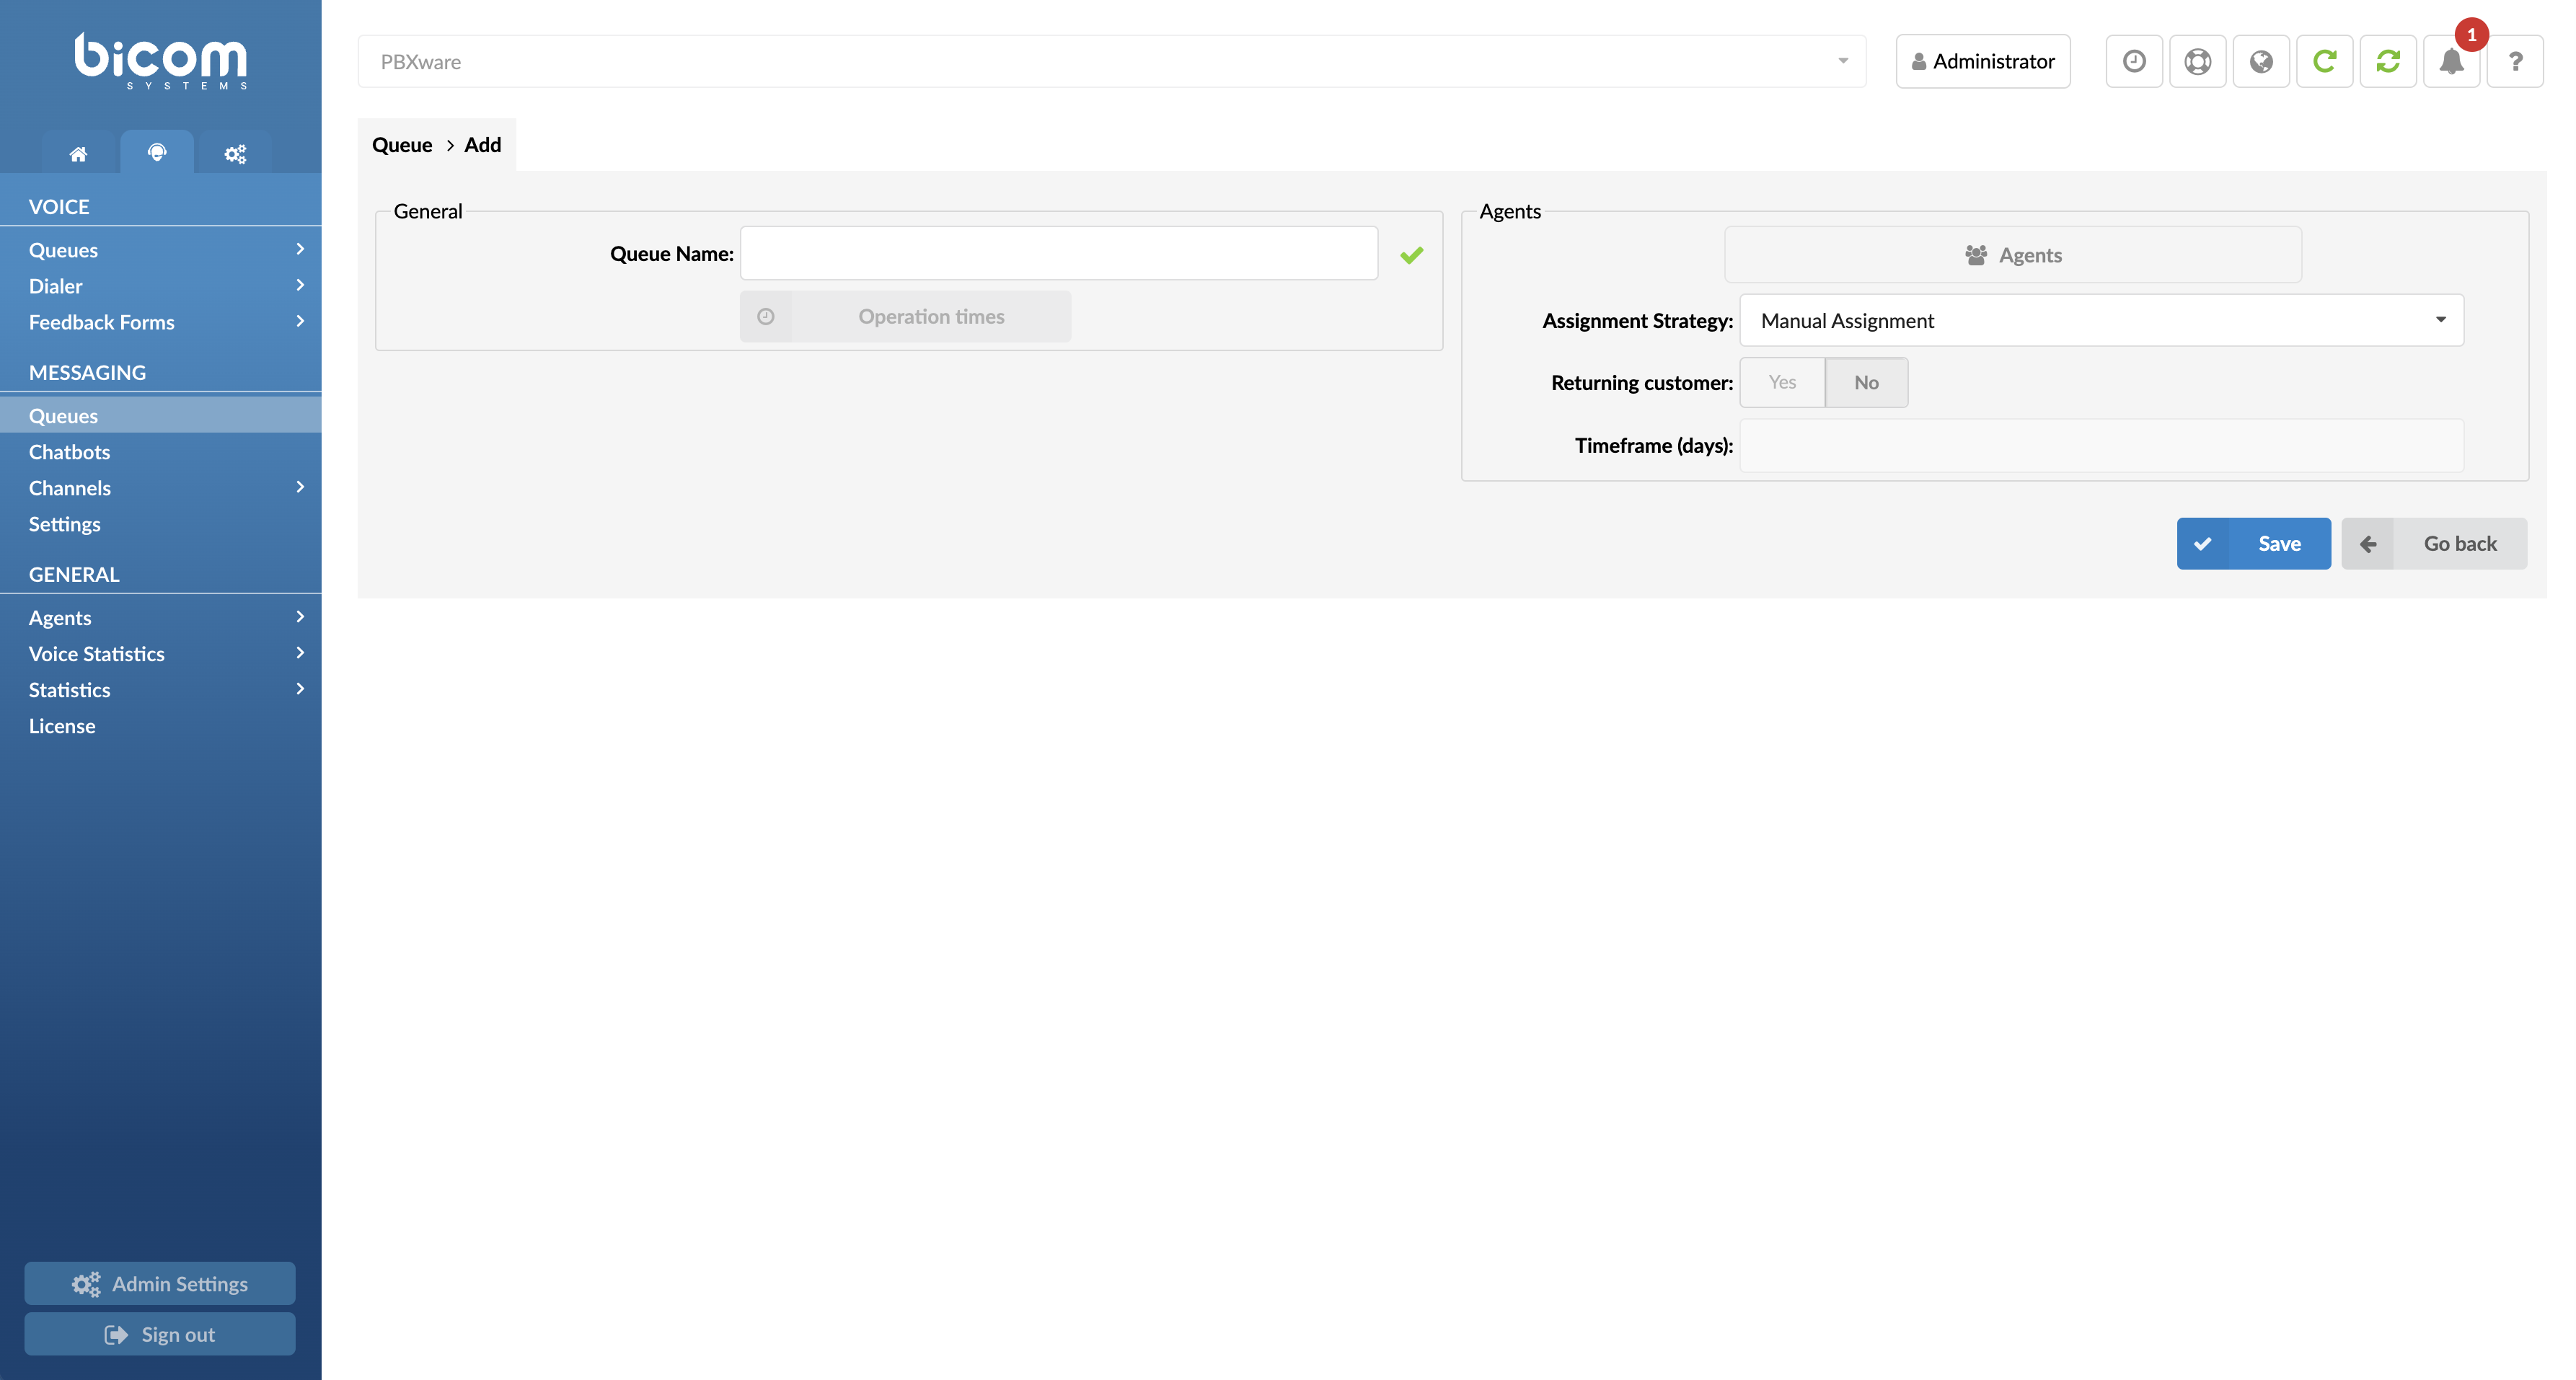
Add/Edit Queue
- Queue Name:
Unique identifier or name for the queue.
(E.g., Provide a unique queue identifier/name here: "Customer_Support", "Order_Inquiries")
¶ Agents
- Agents
Pressing the button 'Agents' list will open a pop-up window.

- Select agents
Dropdown menu allowing the selection of one or more Agents or Agent Groups to add to the queue list.
(E.g., Agent/1001, Agent/1002)
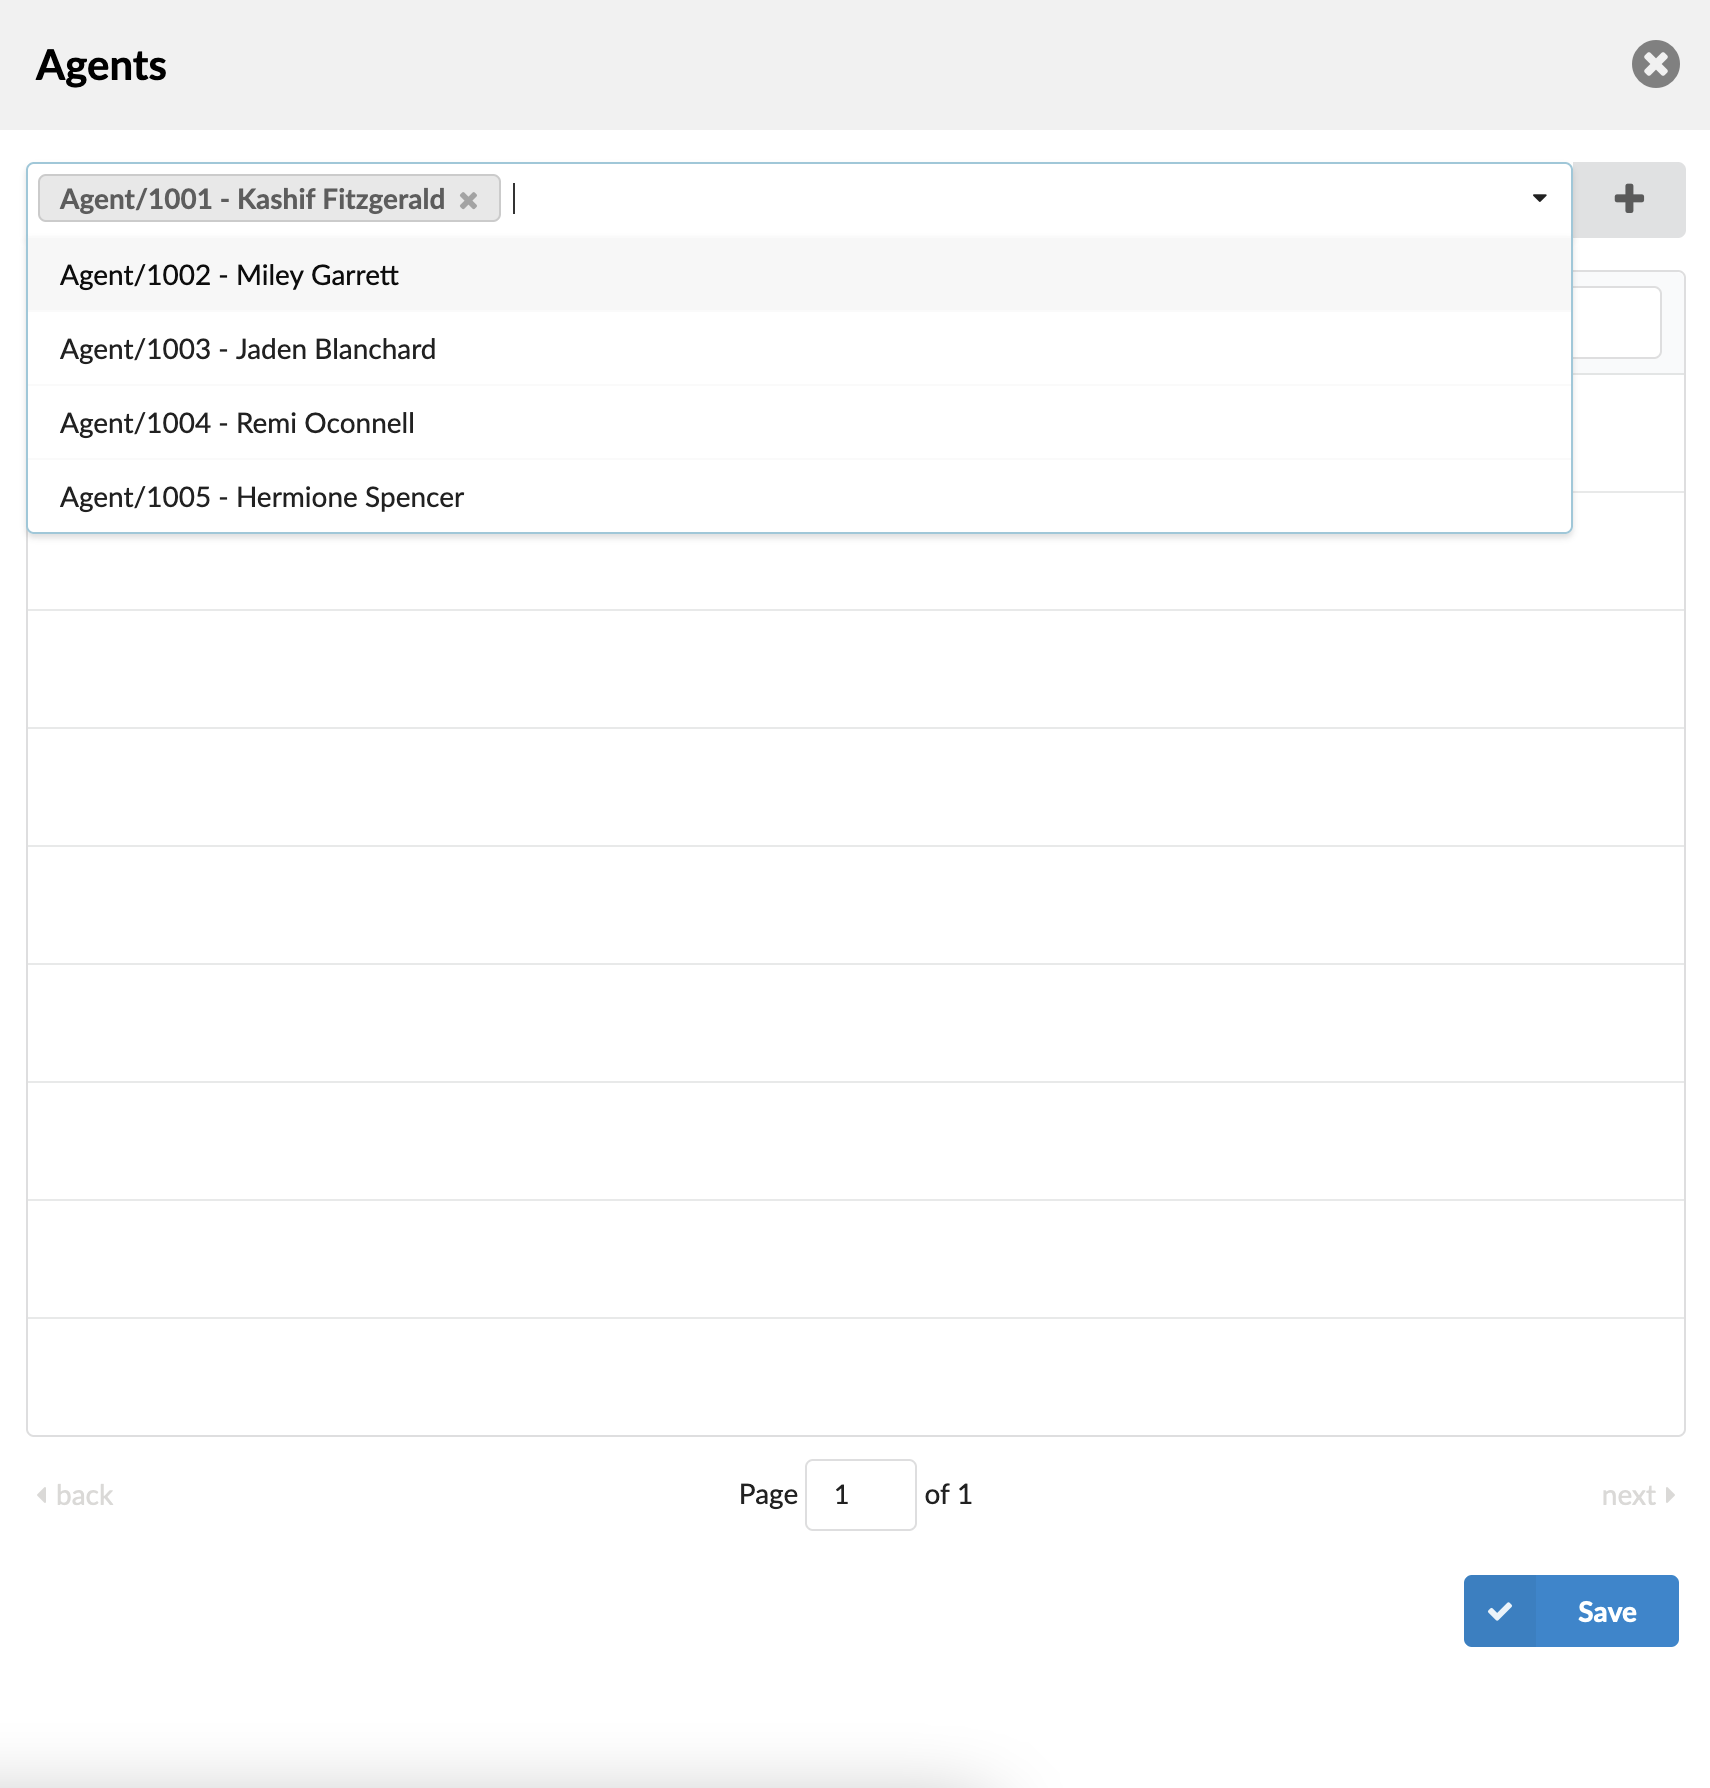
Press this button to add selected Agents/Agents Groups/Extensions to the Queue list.

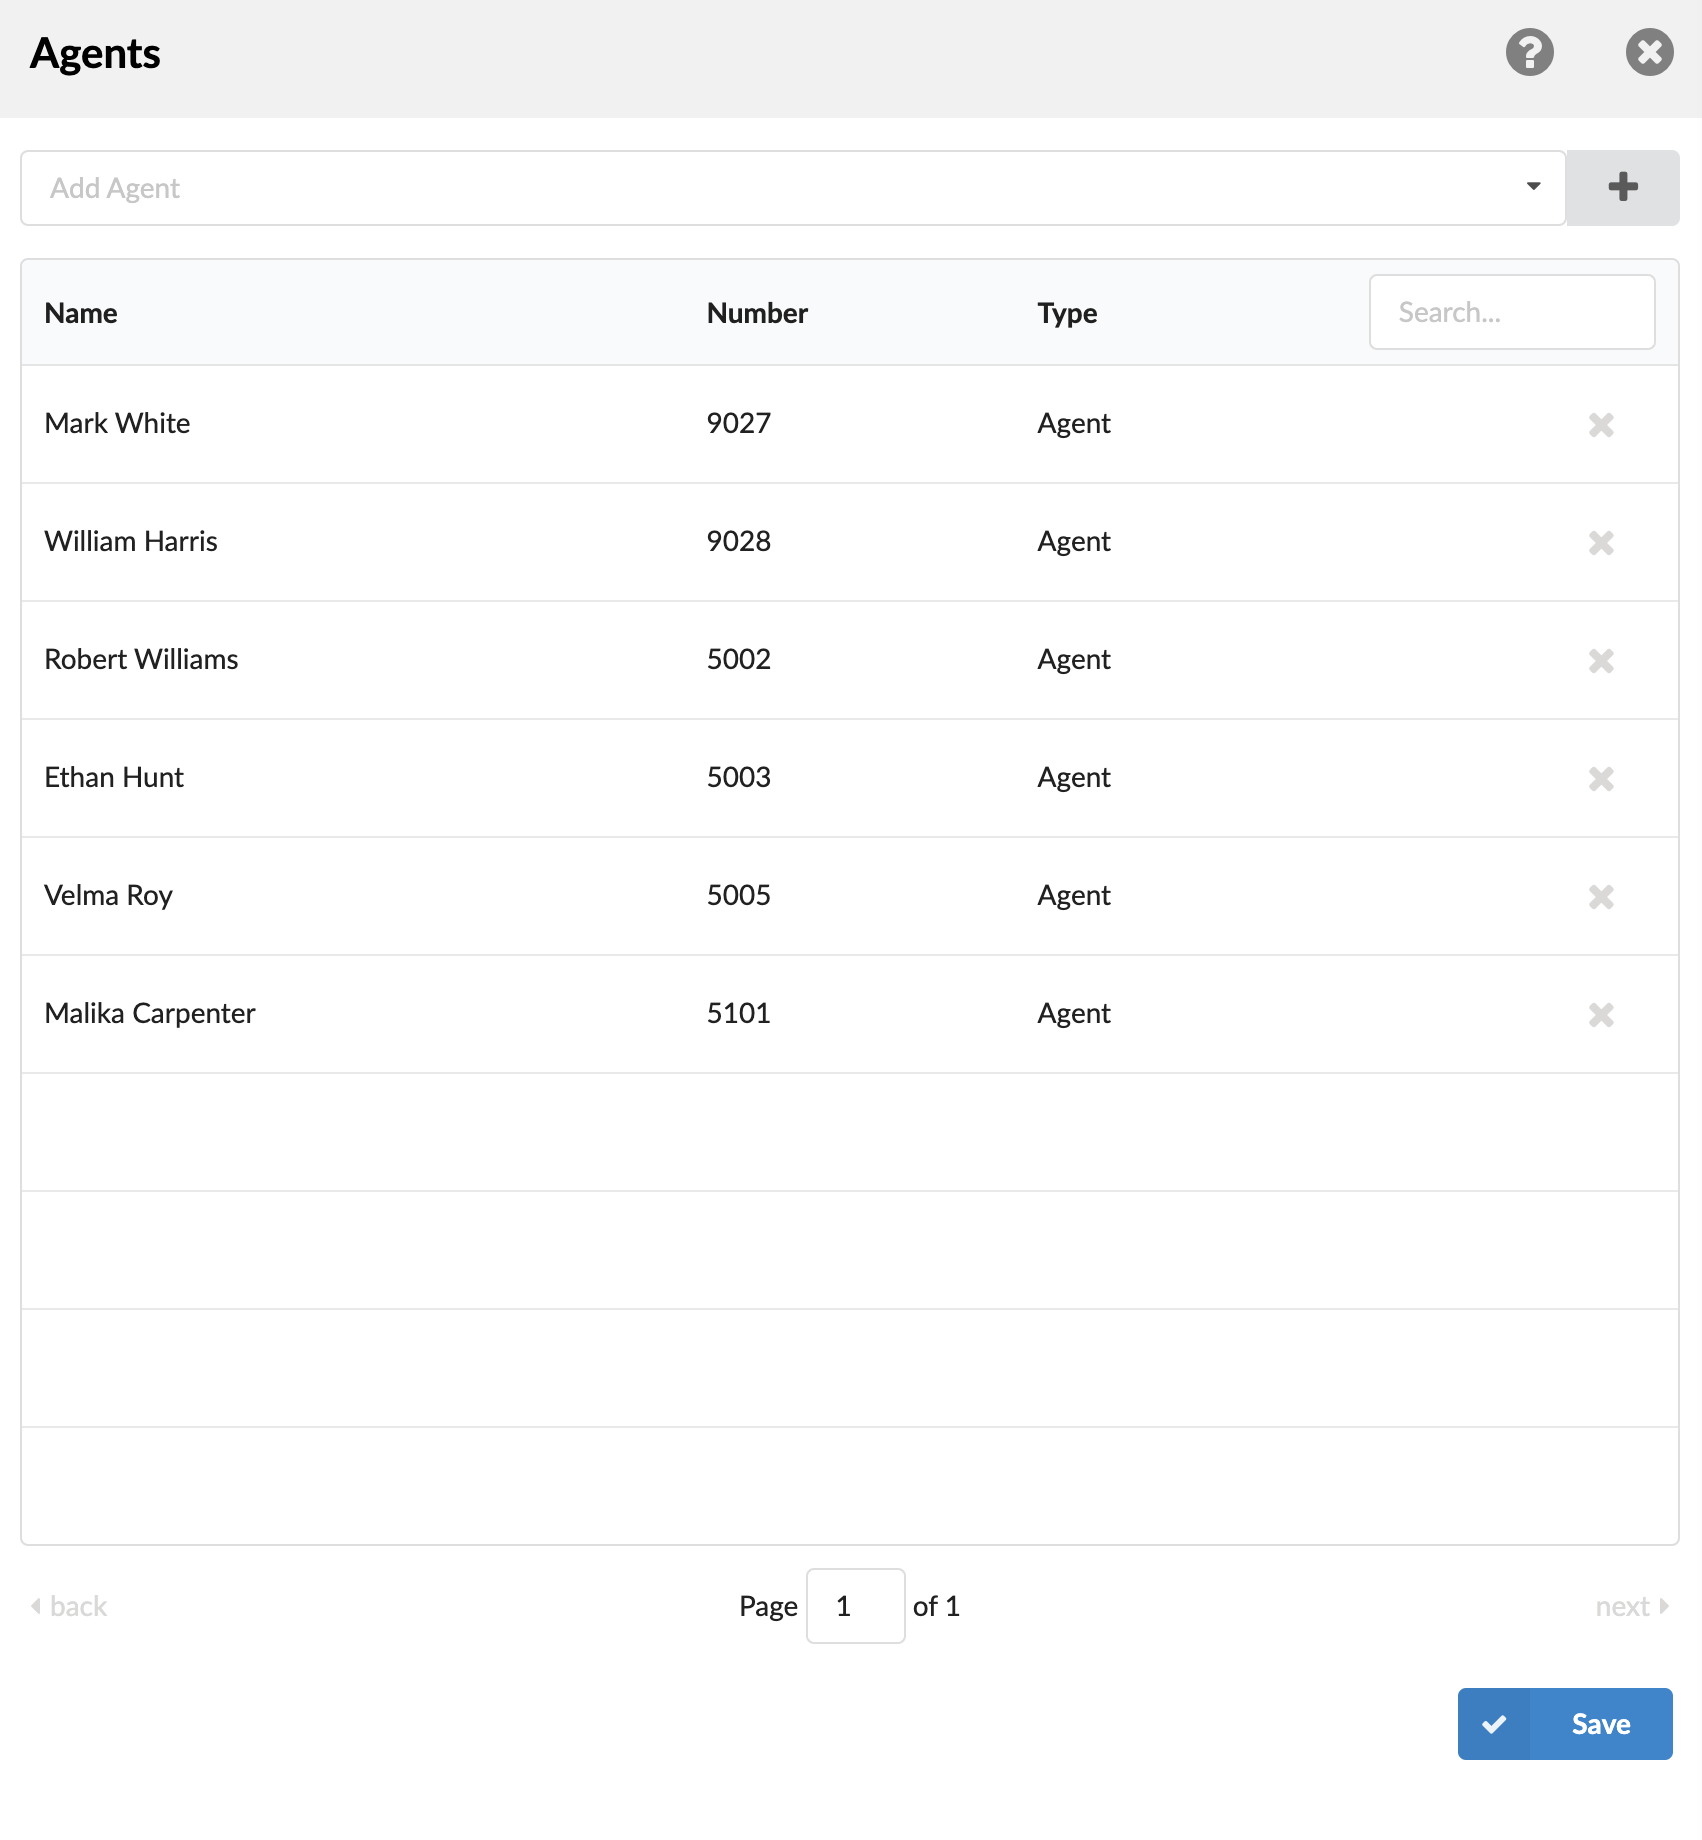
There is a table that shows queue agents with the following details:
- Name
Indicates the agent's name.
(E.g., Mark White, Ethan Hunt, Lucian Gates)
- Number
Indicates the unique identifier of the agent within the system.
(E.g. 1001, 5005, 9000)
NOTE: Messaging Queues do not offer penalty or ordering options for the added agents in the list.
- Type
Specifies the role of the queue member, such as an Agent.
(E.g., Agent)
- Search
Allows for filtering of queue agents by entering a search phrase (e.g., provide a search phrase here to filter the records).
- Remove agent

Removes the agent from the queue list.
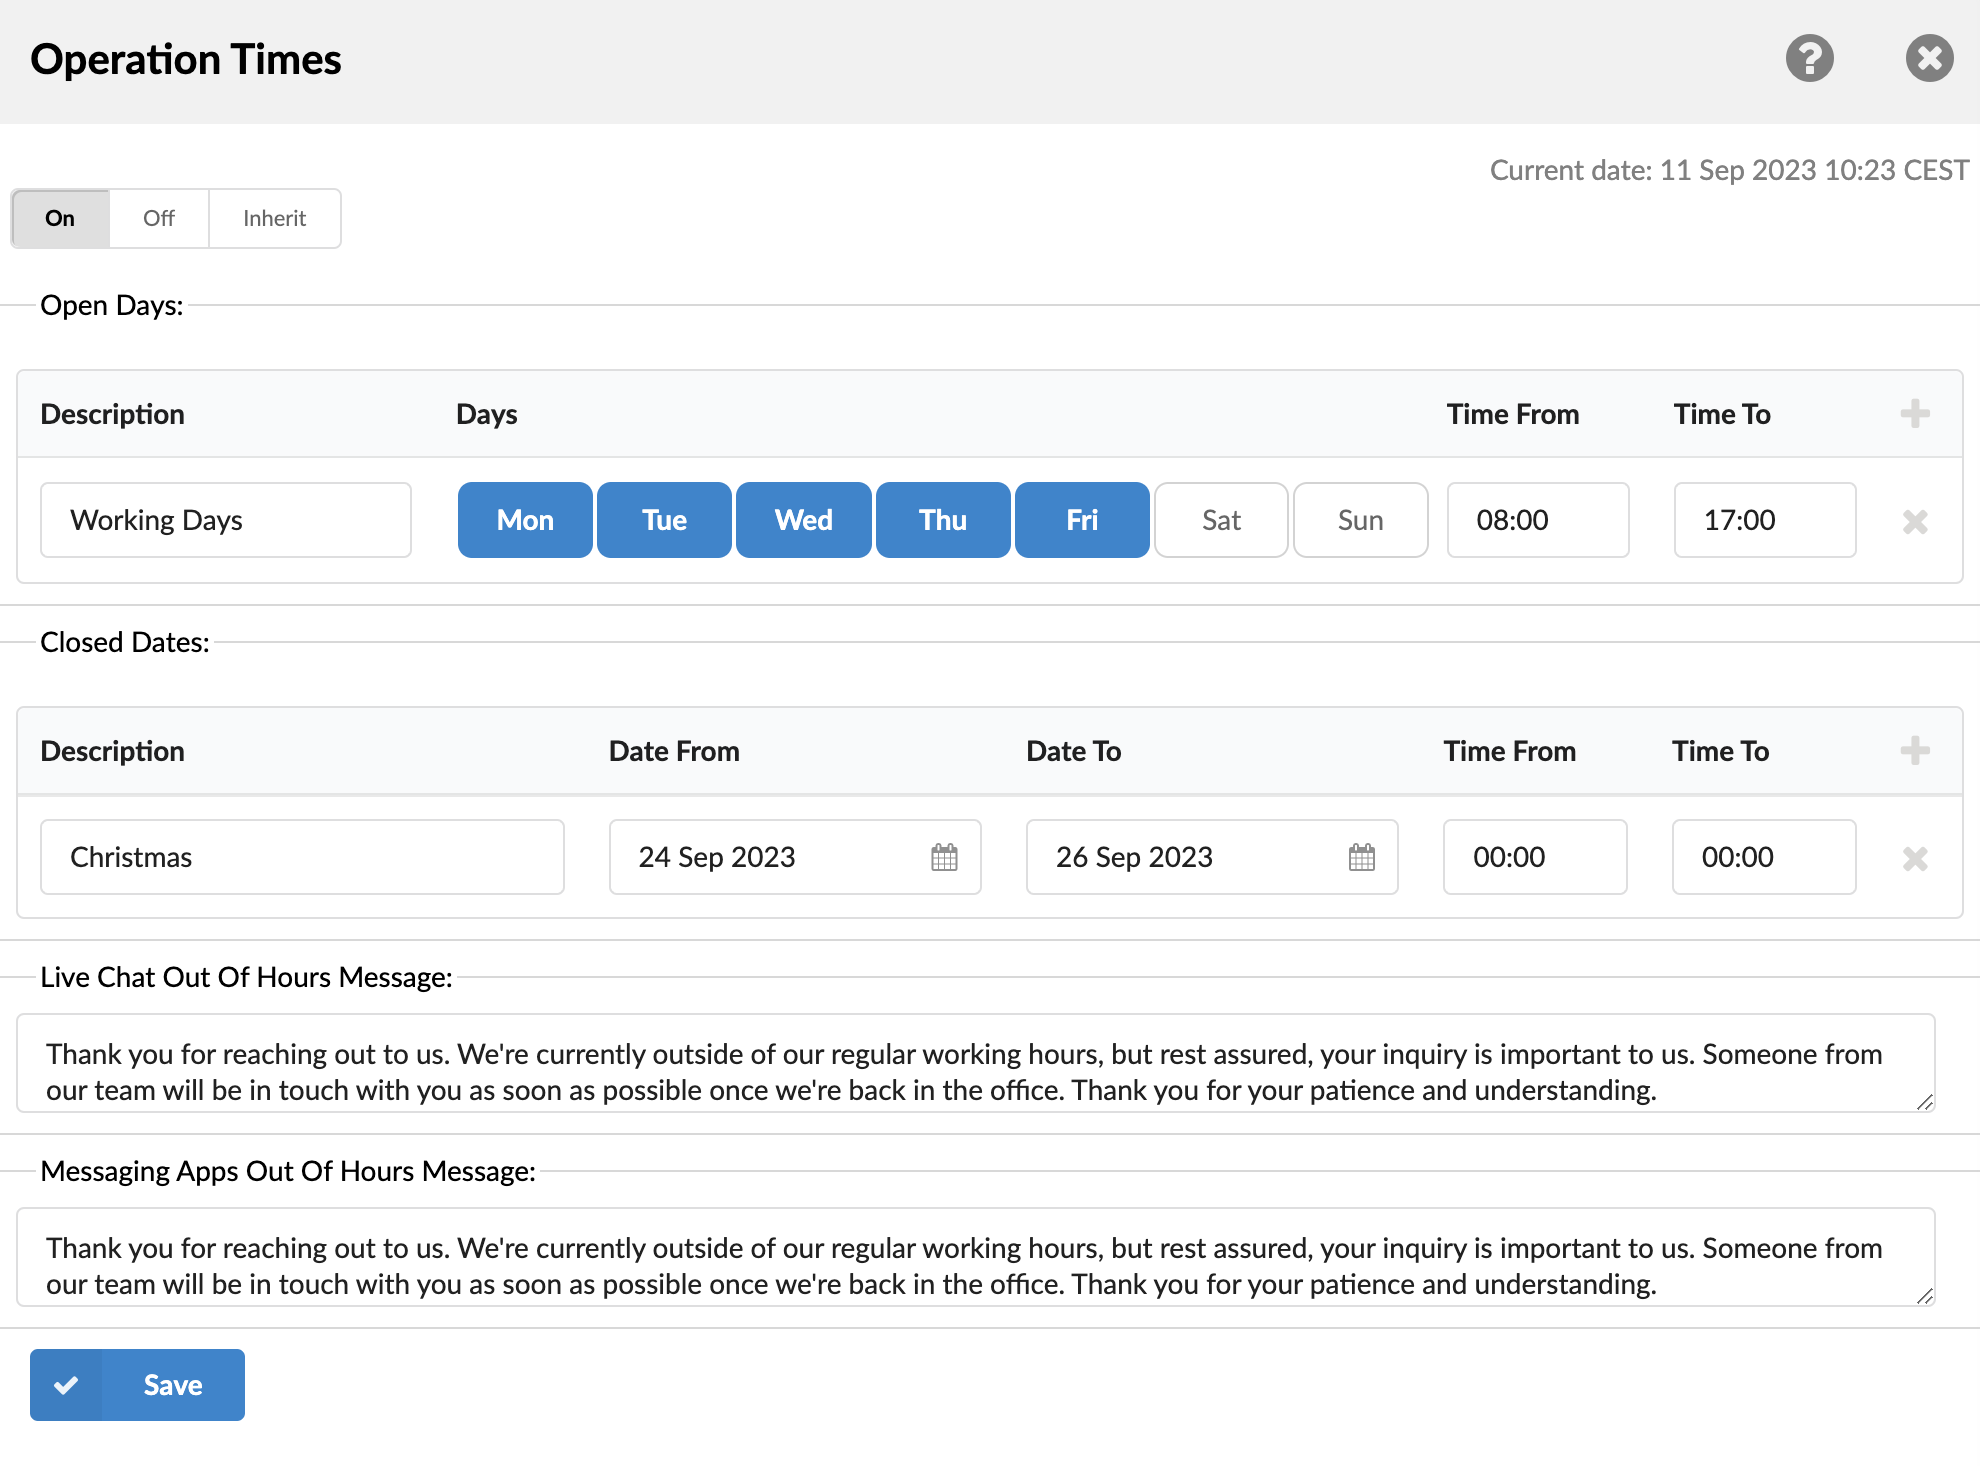
¶ Operation Times
By defining operation hours, Queues can be tailored to align with business shifts or peak periods. The "Operation Times" section now features two additional segments: "Live Chat Out Of Hours Message" and "Messaging Apps Out Of Hours Message." The former allows businesses to set a specific message for visitors who access the Live Chat or SMS outside of operating hours.
Option buttons for Operation Times
-
Yes: Enable operation times specifically for the designated queue. This means you can set custom operation times that apply only to this queue.
-
No: Disable operation times for the designated queue. This would mean the queue operates without any specific time restrictions different from the general settings.
-
Inherit: Inherit operation times from the general settings. This option allows you to use the same operation times that are set globally or for a broader scope (like organization-wide settings).
Description of destinations follows in this priority order:
-
Open days: The "Open Days" section enables you to define the days of the week and time intervals during which your services are available. The section lists all days from Monday to Sunday, alongside "Time From" and "Time To" fields for each day.
By setting these ranges, you establish the window of time during which users can send messages, emails, or engage in live chats with your service. For example, if you set the "Time From" to 9:00 AM and "Time To" to 5:00 PM for Monday through Friday, users will be able to communicate with you during these specific hours on weekdays.
This configuration helps manage customer expectations and also ensures that your team is adequately staffed during the times when interaction is possible. -
Closed dates: The "Closed Dates" is a section within the "Operation Times" settings that allows you to specify particular dates and times when your service will be unavailable. This section includes fields for a "Description," "Date From," "Date To," "Time From," and "Time To."
Description: This field allows you to provide a brief explanation or reason for the closure, such as "Public Holiday" or "Scheduled Maintenance."
Date From and Date To: These fields enable you to define a date range during which your service will be closed. It can be a single day or multiple days.
Time From and Time To: These fields allow you to further narrow down the specific hours of unavailability within the chosen date range.
By configuring the "Closed Dates" section, you ensure that users are aware that they will not be able to send messages, emails, or engage in live chats during the specified times. This helps to manage customer expectations and allows you to plan your staffing needs accordingly. -
Live Chat Out Of Hours Message allows you to set an automated response for customer inquiries that come in outside of operational hours. This message informs customers when they can expect a reply, enhancing their experience and managing expectations.
-
Messaging Apps Out Of Hours Message setting enables you to configure an automated response for customer queries received via messaging apps when you're out of operation. This auto-reply helps manage customer expectations about when they'll hear back from you.
¶ Leave a Message Form
The "Leave a Message Form" option is used alongside the "Operation Times" (OT) feature. Users can set an email address to receive conversations initiated via LiveChat during non-working hours.

Here are the key points:
- By default, the "Leave a Message Form" option is set to "No." It must be set to "Yes" to work with OT.
- When users set this option to 'Yes,' they need to assign an email address for the Leave a Message Form. This requires having at least one email channel configured on their PBXware system.
- The OT must be configured correctly for this feature to function as expected.
For example, if a support queue operates only until 19:00 and a customer starts a LiveChat conversation after 19:00, they will be prompted to leave a message. This message should include the subject and a brief description of the issue. Afterwards, it is treated as an email and sent to the specified email address.
¶ Assignment Strategy
One important aspect of the Queues section is the Assignment Strategy. There are two options to choose from: Manual Assignment and Auto Assignment.

¶ Manual Assignment
With Manual Assignment, agents have the option to choose which messages they will take and respond to. This allows for a more personalized approach, where agents can select the messages that best match their skills and expertise.
¶ Auto Assignment
¶ Auto-Assignment Strategy
The auto-assignment strategy ensures equitable distribution of work by assigning customer inquiries to agents based on a sophisticated understanding of each agent's capacity and work unit valuation. Below is the detailed explanation of how this system operates:
¶ Workload Calculation
Agents' capacities and work units are crucial metrics:
- Capacities: These are defined in the Agent edit settings and determine the maximum number of interactions an agent is allowed per communication channel.
- Work Units: Set under Settings, they provide a weighted value to each interaction, reflecting the effort or attention required.
For example, if the work unit values are as follows:
- Live Chat: 4 units
- Messaging: 2 units
- Email: 1 unit
These values suggest that one Live Chat is equivalent in effort to four Emails or two Messages. With this in mind:
-
Live Chats: An agent with a capacity of 3 can handle up to:
3 (capacity) x 4 (work units) = 12 units -
Messages: If they can manage 5 messages, each worth 2 units:
5 (capacity) x 2 (work units) = 10 units -
Emails: If they're able to process 10 emails, each worth 1 unit:
10 (capacity) x 1 (work unit) = 10 units
This results in an agent's total work unit capacity being 32 units, which corresponds to their "My Workload" when fully utilized.
¶ Assignment Logic
With the aim to never exceed an agent's workload capacity, the auto-assignment algorithm takes into account:
-
Ticket Creation - When a ticket is created inside of operation hours for a particular queue, it triggers the algorithm to auto-assign the ticket.
-
Ticket Transfer - If a ticket is transferred outside of operation hours for a queue, the algorithm auto-assigns the ticket.
-
Beginning of Operation Times - At the beginning of operation times for a queue, the algorithm auto-assigns tickets.
-
Adding New Agents - When new agents are added to a queue from the PBXware GUI, the algorithm auto-assigns tickets.
¶ Other Auto-Assignment Activities
-
Agent Login - When an agent logs into the system, the algorithm auto-assigns tickets based on the current parameters.
-
Unpausing an Agent - When an agent is unpaused, the algorithm auto-assigns tickets considering the agent's current capacity and workload.
-
Ticket Closure - When an agent closes a ticket, the algorithm assigns a new ticket based on the current workload and capacity.
-
Change of Agent Status - If an agent changes status from "active" to an "inactive" state, the algorithm reassigns the tickets to maintain optimal load balancing.
To sum up what we previously said, the automatic assignment depends on the following cases:
- Capacity Balancing: Distributes tickets so that the total active work does not exceed the agent's workload threshold, as defined by their capacities and the weighted work units.
- Relative Strength of Work Units: Understands that certain channels require more effort, adjusting assignment counts accordingly (e.g., one Live Chat may equate to handling two Messages or four Emails).
- Agent Status: Considers if agents are logged off, on pause, or not part of a queue, in which case they will not be assigned new tickets.
- Return to Queue: When agents log in, unpause, or are added to a queue, they are assigned tickets according to their remaining workload capacity.
- Operational Hours Consideration: Ensures tickets are only assigned within working hours, with queued tickets awaiting assignment at the start of the next work period.
This approach ensures that agents are working at optimal efficiency without being overburdened, maintaining a balanced distribution of tasks aligned with their specified capacities.
¶ Returning Customer and Timeframe (days)
Returning Customer: Activated with the Automatic Assignment strategy, this feature decides the allocation of messages from returning customers:

¶ Configurability
-
Yes: When chosen, the system gives priority to channeling returning customers' messages to the same agent they interacted with previously, ensuring consistency and an enhanced user experience.
-
No: If selected, messages from returning customers are treated as fresh interactions and may be allocated to any available agent.
-
Timeframe Definition: Timeframe (days): This input field enables administrators to set a particular timeframe in days. This could relate to the duration for recognizing a returning customer or other relevant queue metrics.
¶ Identifying Returning Customers
- Agent Allocation: If a returning customer is identified within the specified Timeframe, they will be directed to the same agent they previously interacted with, unless that agent is paused or logged off.
- Fallback: If the original agent is unavailable, the system will direct the returning customer to the best available agent at that moment.
¶ Benefits
- Consistency: By directing returning customers to the same agent, the system ensures continuity and a more personalized experience.
- Efficiency: The Timeframe setting allows for precise control over the scheduling and allocation of agents, optimizing resource utilization.
- Flexibility: The ability to enable or disable the Returning Customer option per queue, along with the configurable Timeframe, provides a versatile tool for managing various types of customer interactions.
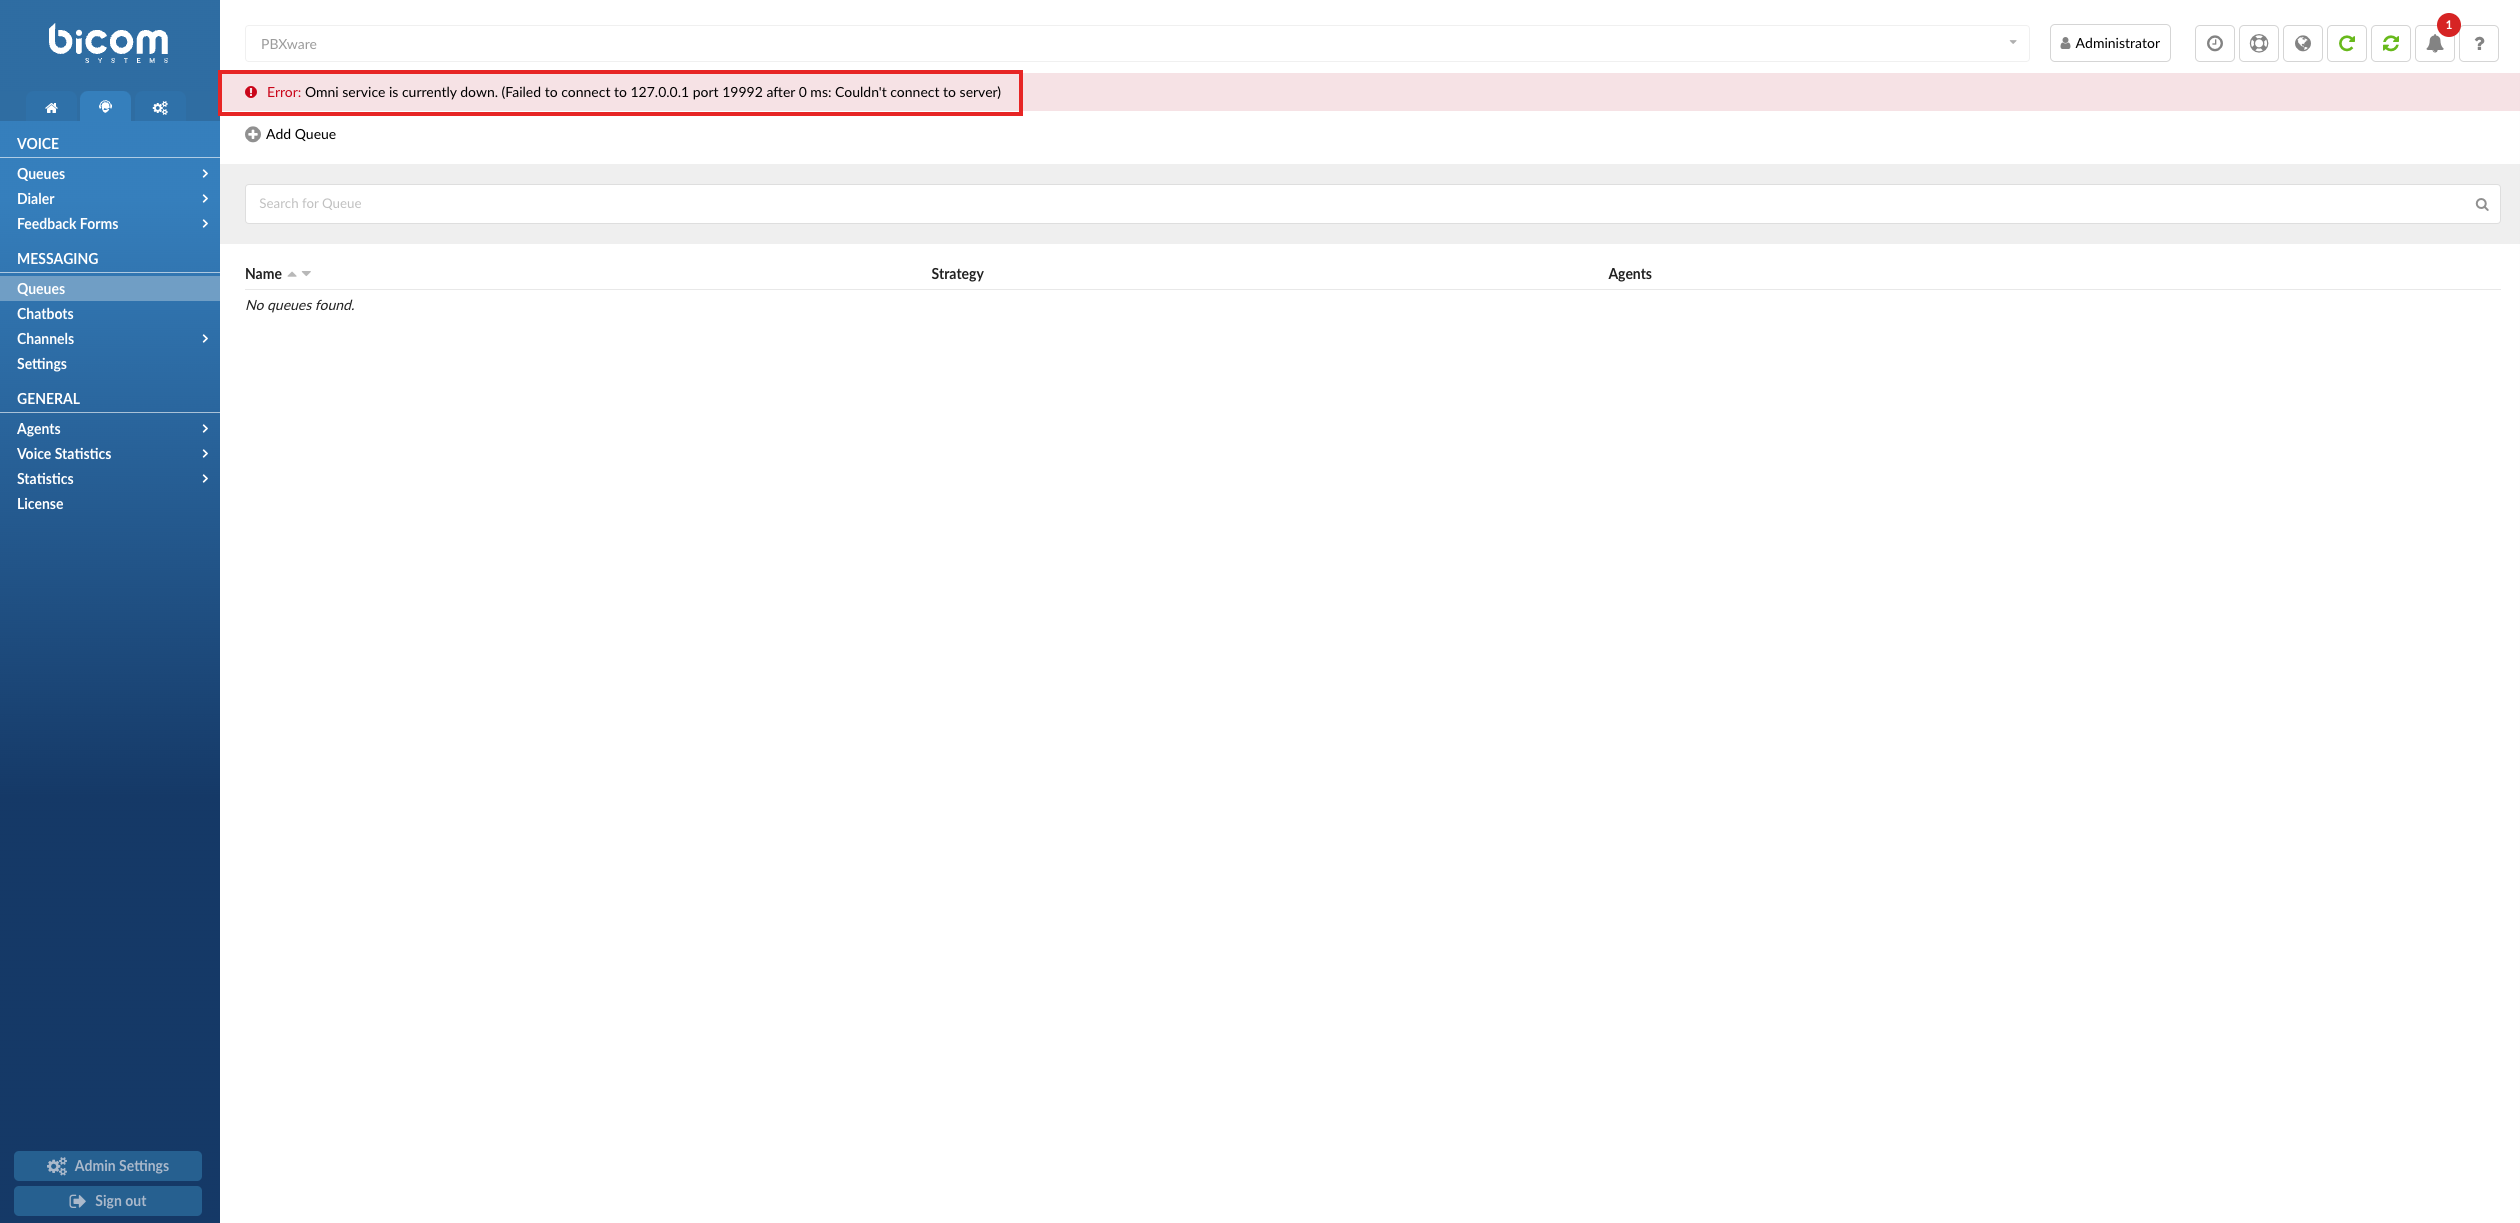
NOTE: If the Omni application is stopped or not functioning, an error message will be displayed to inform the user that the Omni application is down. During this time, the list of Messaging Queues will become unavailable, and users will not be able to add new queues until the Omni application is restored.