¶ Surveys
The Survey feature is designed to collect customer feedback after interacting with the agents. This feature appears at the end of a conversation and offers customers a way to rate their experience on a scale of 1 to 5. We have two types of surveys: Voice and Messaging. Additionally, for messaging surveys, customers can leave additional comments, offering more detailed insights into their experience.
NOTE: To use the Survey feature, you need to enable it on the license and the extension under the Editions & Modules in the Modules section where the Agent will be logged in.
¶ Surveys main page
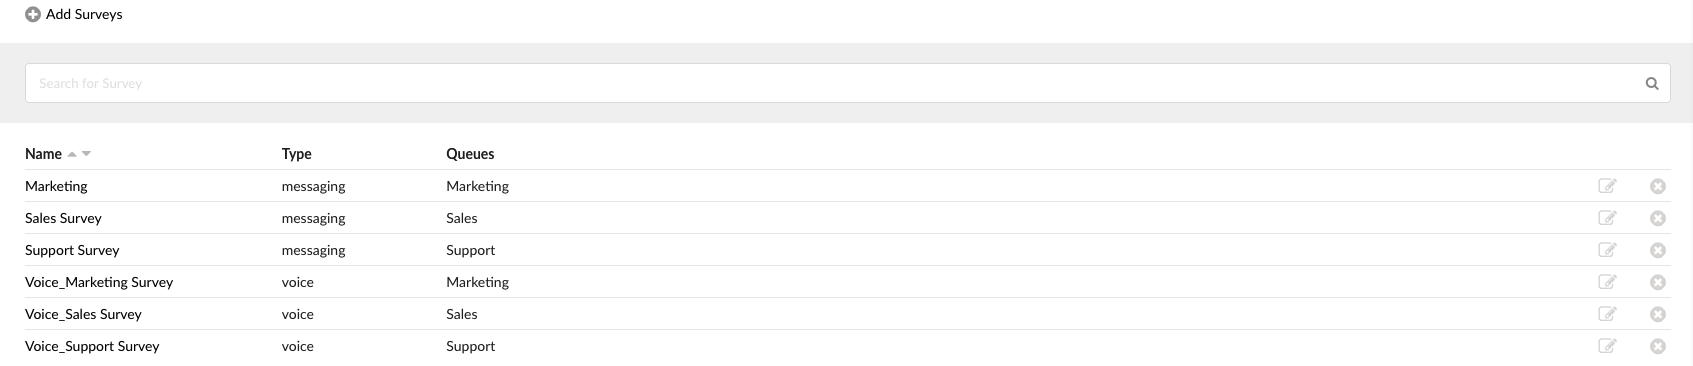
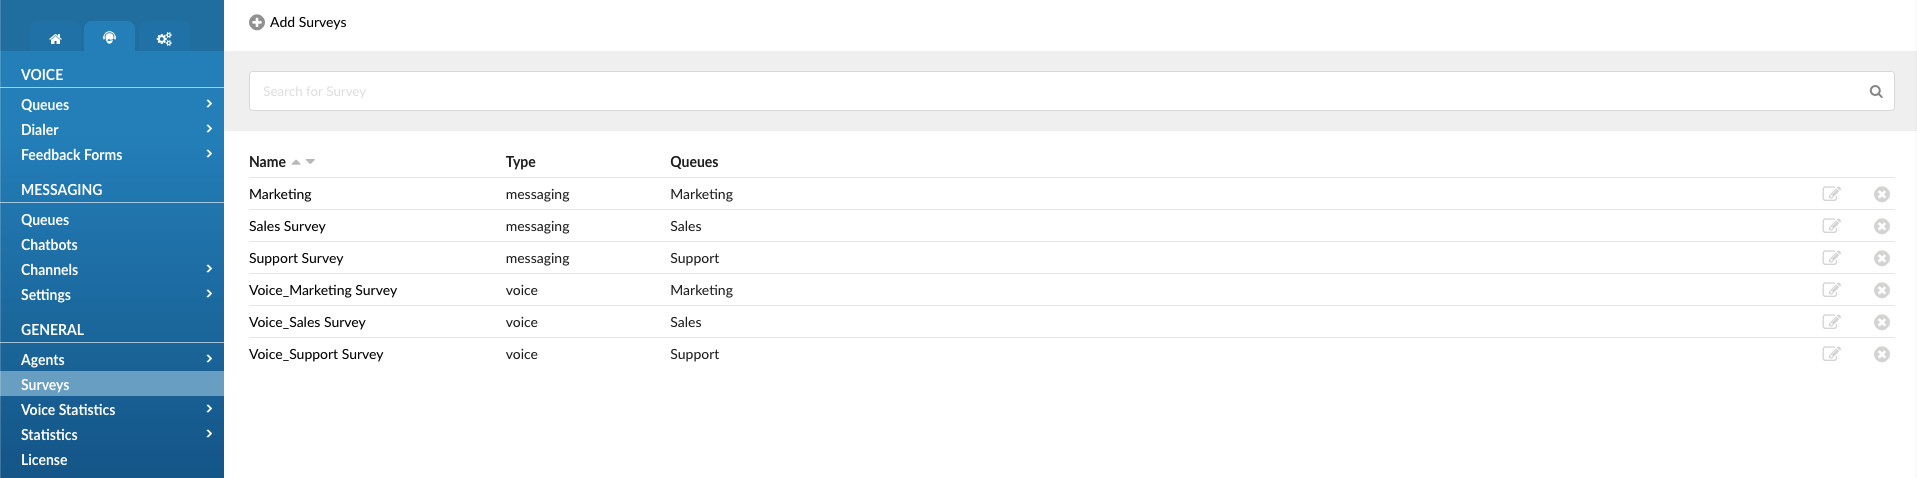
The main page provides the list of created surveys along with following information:
- Search
Search for a specific survey by typing the first letter or part of the name of the Survey. Search will start right away after you start typing.

- Name
This field displays the survey's name. By clicking on the related icons right of the name label, we can sort the survey list in ascending/descending order.
(E.g., Marketing Survey, Support Survey)
- Type
This field displays the format of the created survey, classifying each one as either voice or messaging.
- Queues
This field displays the messaging queues to which surveys are assigned. If a survey is not assigned to any queue, it will be empty.
- Edit

Pressing this button (or on the survey's name) lets users modify survey settings such as Name, Agent Rating, and Additional Comment.
(Button)
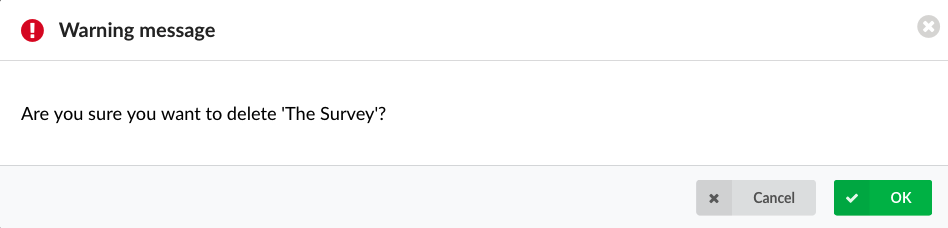
- Delete

This button allows users to delete the Survey from the system. Upon clicking, a confirmation dialog may pop up, seeking final approval before the Survey is permanently removed.
If the Survey is not a part of any queue, upon deleting, a warning pop-up window will appear:
If the Survey is assigned to the messaging queue, upon deleting, a new warning pop-up window will appear:

Clicking on the OK button confirms the deletion of the survey from the system.
(Button)
¶ Voice Surveys
Voice surveys are features designed to collect customer opinions after the call or voice-based interactions. Following a conversation with an agent, customers can rate their experience simply by pressing the correct number on their phones after they hear a proper message. This helps businesses assess the quality of their voice support and make improvements based on customer satisfaction.
¶ Add/Edit Survey
Clicking the Add Survey button at the top of the Surveys page will open a new modal window. In this window, you can select the voice survey type from a drop-down menu. The available options are Voice and Messaging.
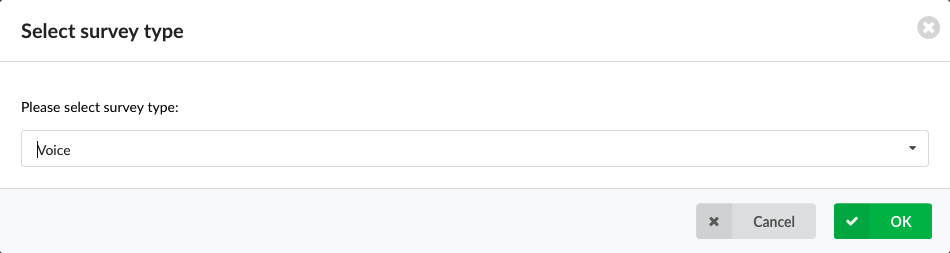
A new window will open after selecting the survey type and confirming by clicking the OK button.
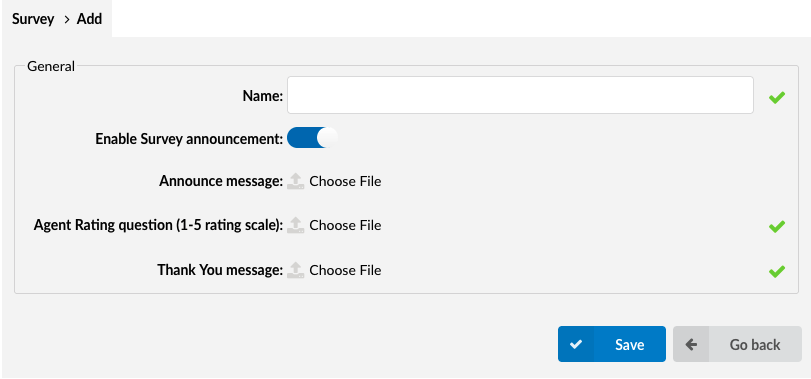
All options are grouped under the one General section:
- Name: Unique survey name/identifier. (Required field)
- Enable Survey announcement: This toggle button allows the user to enable/disable a message that will be played after the customer joins the queue and before connecting to an agent. This pre-amble message informs the customer that there will be a short survey at the end of the call. After this option is enabled, a new option will appear just below the toggle button called "Announce message," where the user can upload a prepared sound file simply by clicking on the Choose File and selecting it from their computer.
- Agent Rating question: This message will be played to the caller immediately after the Agent hangs up. It's a question that a company wants to ask customers within the survey. For example, "How satisfied are you with our service today? Please leave a rating where 1 is the lowest and 5 is the highest." The user uploads the file by clicking the Choose File and selecting it from their computer.
Note: Rating values are hard-coded from 1 to 5. (Required field) - Thank You message: This is a closing message played to the caller after they complete the survey. It expresses gratitude for their participation and provides a polite conclusion to the feedback process. The user uploads the file by clicking the Choose File and selecting it from their computer. (Required field)
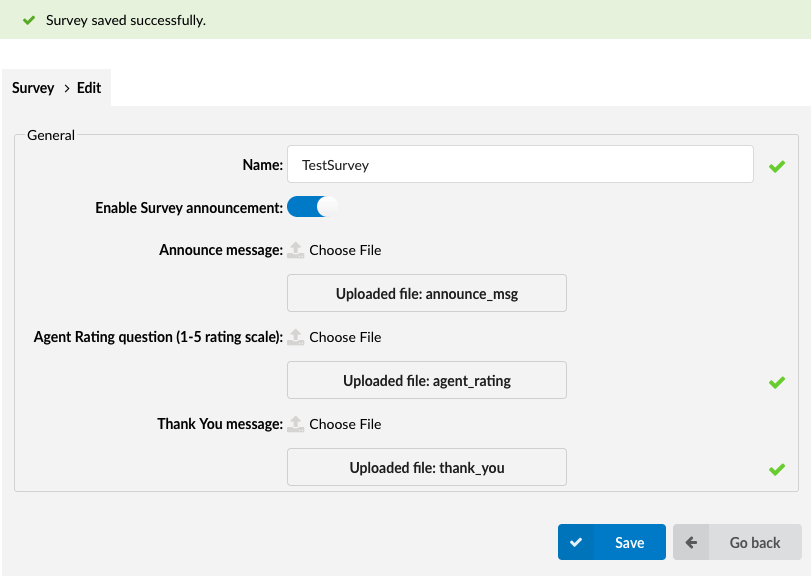
After all required fields are filled out and all correct sound files are uploaded, clicking on the Save button should successfully create a voice survey. The user can later see the uploaded files and replace them if needed with the Choose File option.
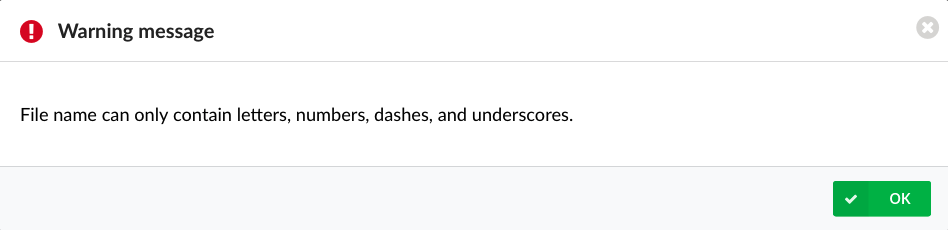
There are a couple of notes that users should be aware of about uploading the sound files:
- The name of the sound files should not contain any spaces or special characters except the letters, numbers, "." or "_". If the user tries to upload a file with space in the name or with a forbidden special character, it will get a warning pop-up message window:
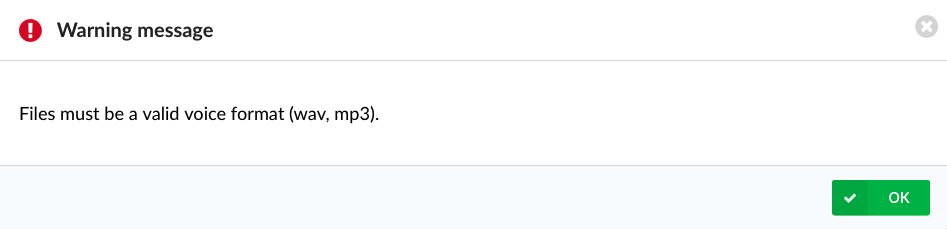
- The only supported formats of audio files are WAV and MP3. After the upload, all files will be converted into WAV format. If the user tries to upload any unsupported format, a warning pop-up window will appear:
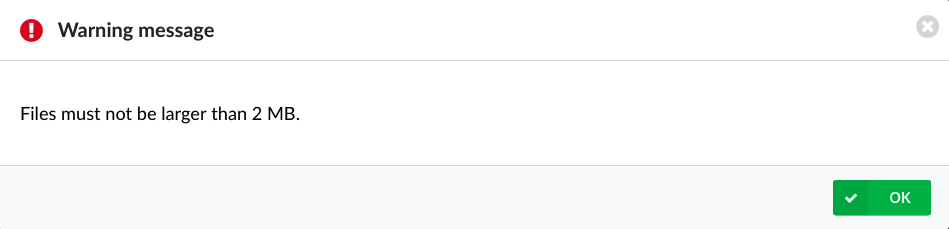
- Maximum size of audio file should not be greater than 2MB. If the user tries to upload a bigger audio file, a warning pop-up window will appear:
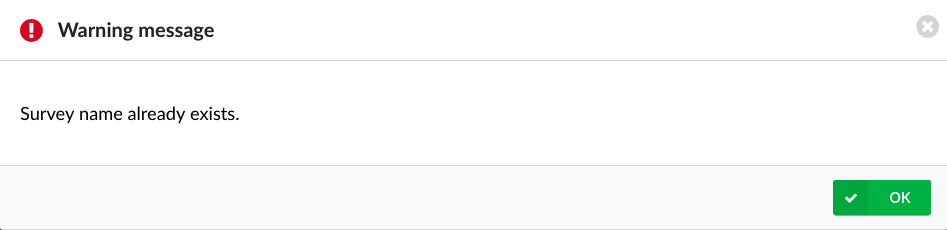
Additional note: Names of the Messaging and the Voice surveys cannot be the same, and if the user tries to save the survey, a warning pop-up window will appear too:
¶ Messaging Surveys
Messaging surveys are features used to gather customer opinions after interactions conducted via text-based communication channels, such as SMS, Live Chat, Facebook, or WhatsApp. These surveys allow customers to rate their experience and provide additional comments, helping businesses evaluate and improve the quality of service provided through messaging platforms.
¶ Add/Edit Survey
Clicking the Add Survey button at the top of the Surveys page will open a new modal window. In this window, you can select the messaging survey type from a drop-down menu. The available options are Voice and Messaging.
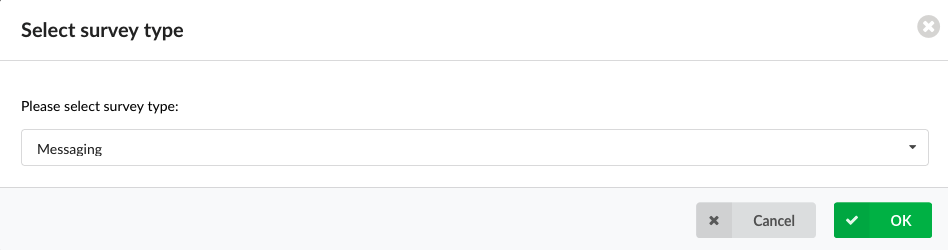
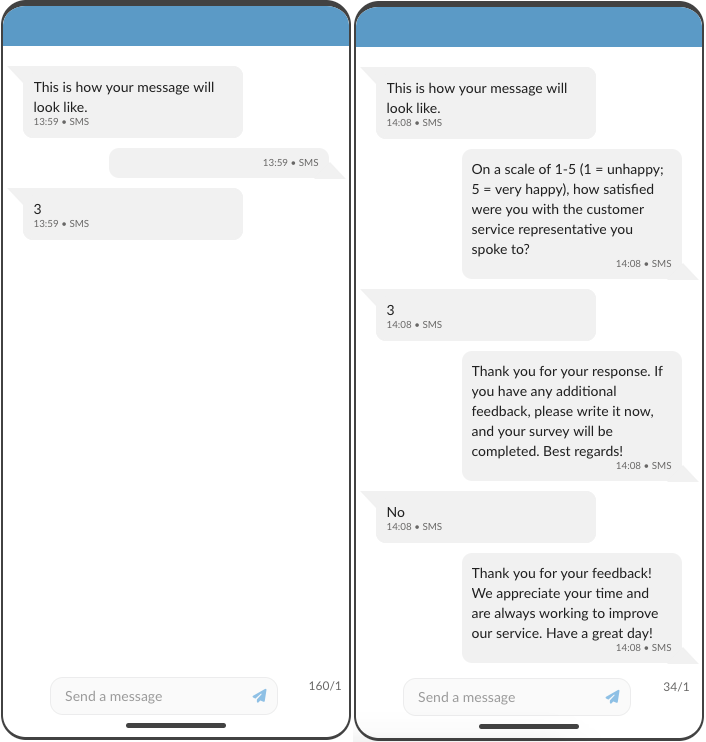
A new window will open after selecting the survey type and confirming by clicking the OK button. The new window is divided into two sections. On the left side, we have the General section with the main options related to our survey, and on the right, we have a preview window that allows us to see how our changes will look on the customers' side.
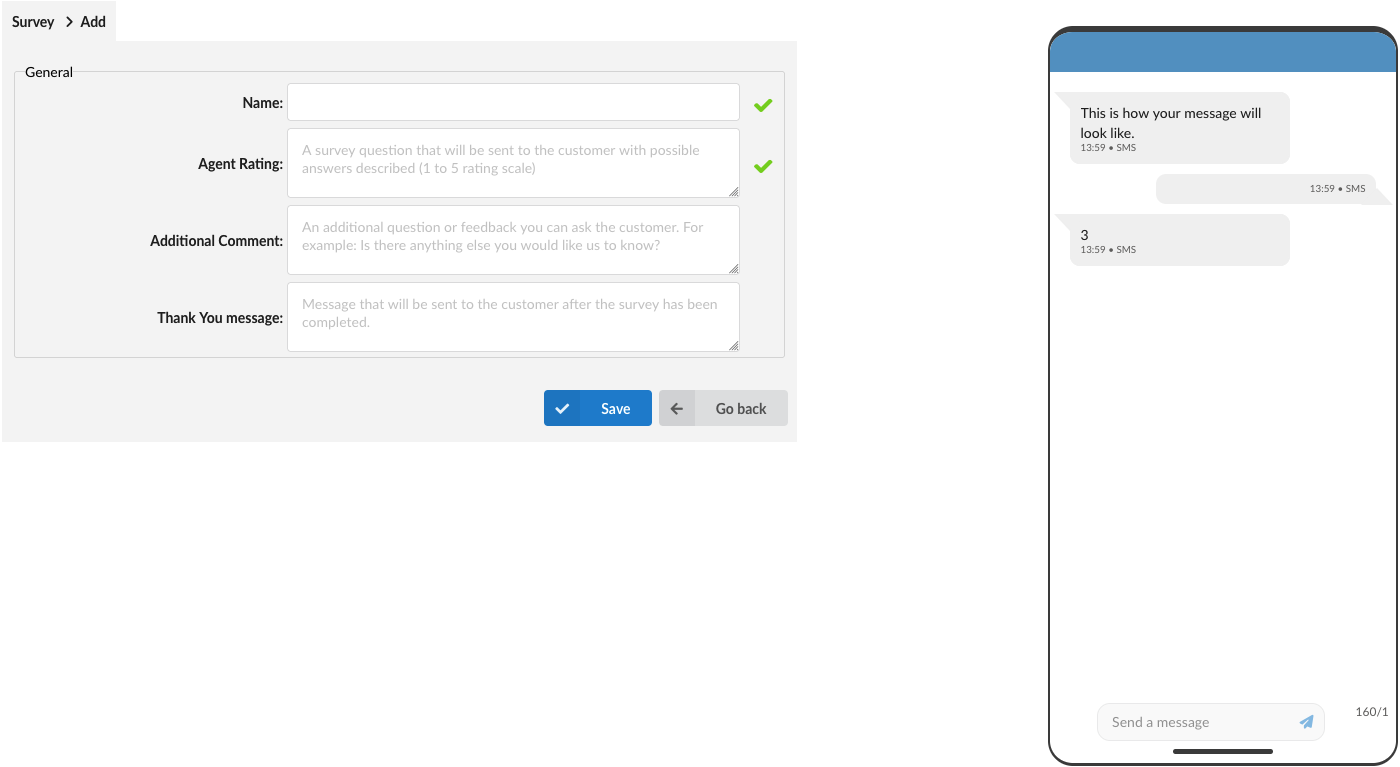
¶ General section
Under the General section, three options are available for modification:
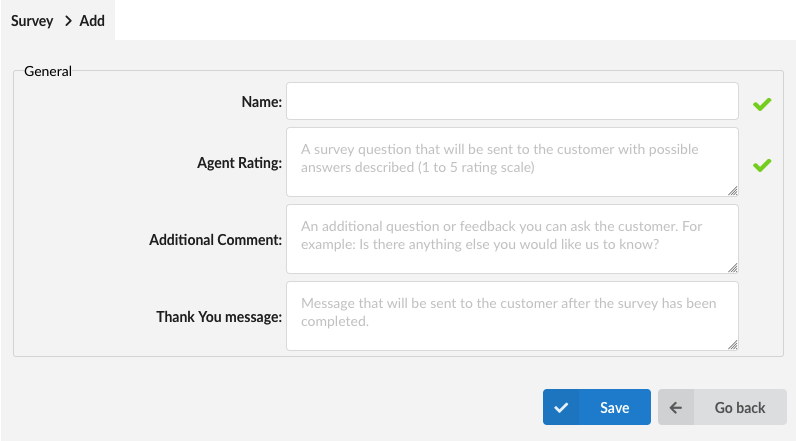
- Name: Unique survey name/identifier. (Required field)
- Agent Rating: A survey question will be sent to the customer to rate the conversation with the Agent.
Example: "On a scale of 1-5 (1 = unhappy; 5 = very happy), how satisfied
were you with the customer service representative you spoke to?"
Note: Rating values are hard-coded from 1 to 5. (Required field) - Additional Comment: This message will be sent to the customer to provide additional feedback and general satisfaction with the Agent's conversation.
Example: "Thank you for your response. If you have any additional feedback, please write it now, and your survey will be completed. Best regards!"
Note: Customers should generally leave additional comments, or after the Agent closes the ticket, they will receive a Closed Message that informs them about not finishing the survey. - Thank You message: A message that will be sent to the customer once the survey has been completed. It expresses gratitude for their feedback and reinforces the value of their input.
Example: "Thank you for your feedback! We appreciate your time and are always working to improve our service. Have a great day!"
Note: Thank You message will not be applied on the live chat and email channels.
Note: It is recommended that you stay within the one-message limit for the Agent rating and the Additional Comment options.
¶ Preview window
The chat window on the right side will let us see how the messages we set under the General section will look on the customer side. The preview will change as we type in the Agent Rating and the Additional Comments fields; there is no need to save changes to see how they will look.