To start the PBXware installation, you will first need to download the PBXware ISO, which can be found on the following link:
https://www.bicomsystems.com/download#pbxware
Please make sure to download the latest version of PBXware.
The installation can be completed using the LiveCD option or by creating the bootable USB, but doing the installation using a bootable USB drive installation will be completed much faster.
The instructions on how to create a bootable USB drive can be found on the link:
https://wiki.bicomsystems.com/PBXware/HOWTO-Guides/HOWTO-Create-bootable-USB-drive
In this example, we will be using the LiveCD option, so once the Virtual Media has been attached, power up the server, and as it starts to boot, you will be able to see the following screen:
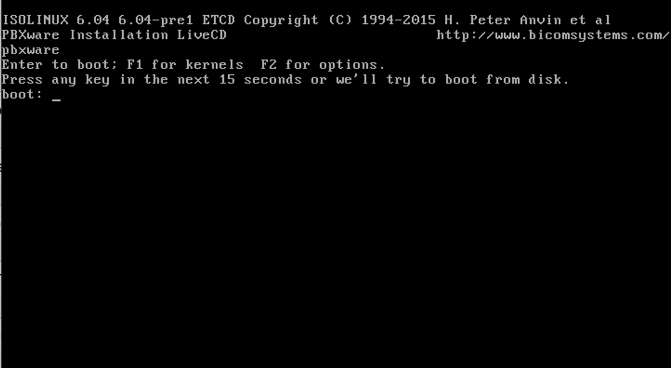
When prompted, as shown in the image above, please press ENTER without pressing any additional keys.
After a short period, the PBXware installation wizard will start and you will need to configure a few things before you can proceed with the PBXware installation.
Navigation through the wizard is done using the arrow keys on your keyboard or using the TAB key, while the selection and button presses may be done using the spacebar or the ENTER button.
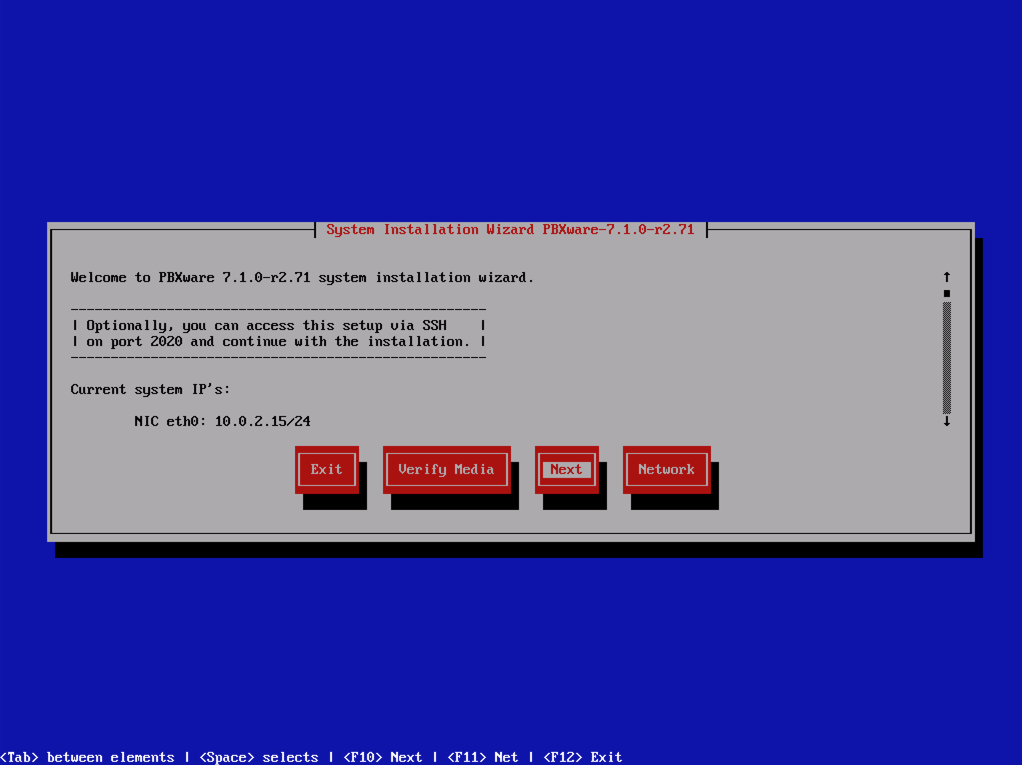
The first step of the wizard will provide you with the option to Verify Media, which can be used to ensure that your image/ISO downloaded correctly, otherwise you can navigate to the Next button and press enter to proceed to the next step.
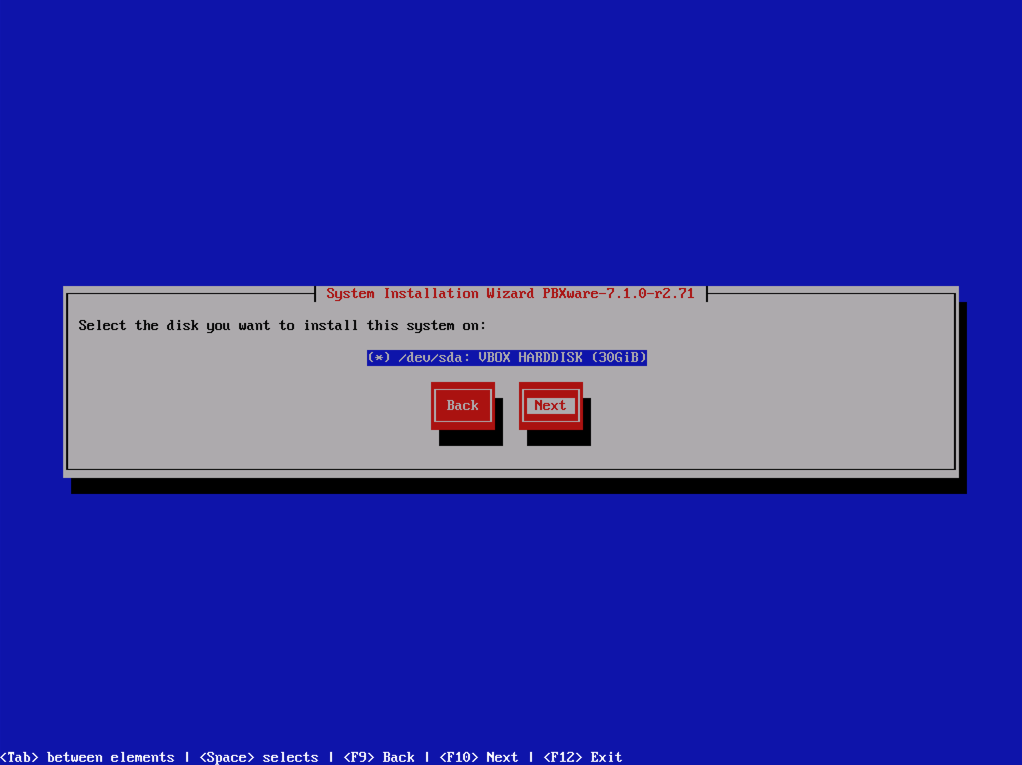
On the next page, the wizard will display all available disks on the server. Select the disk to install the PBXware on and press the Next button.
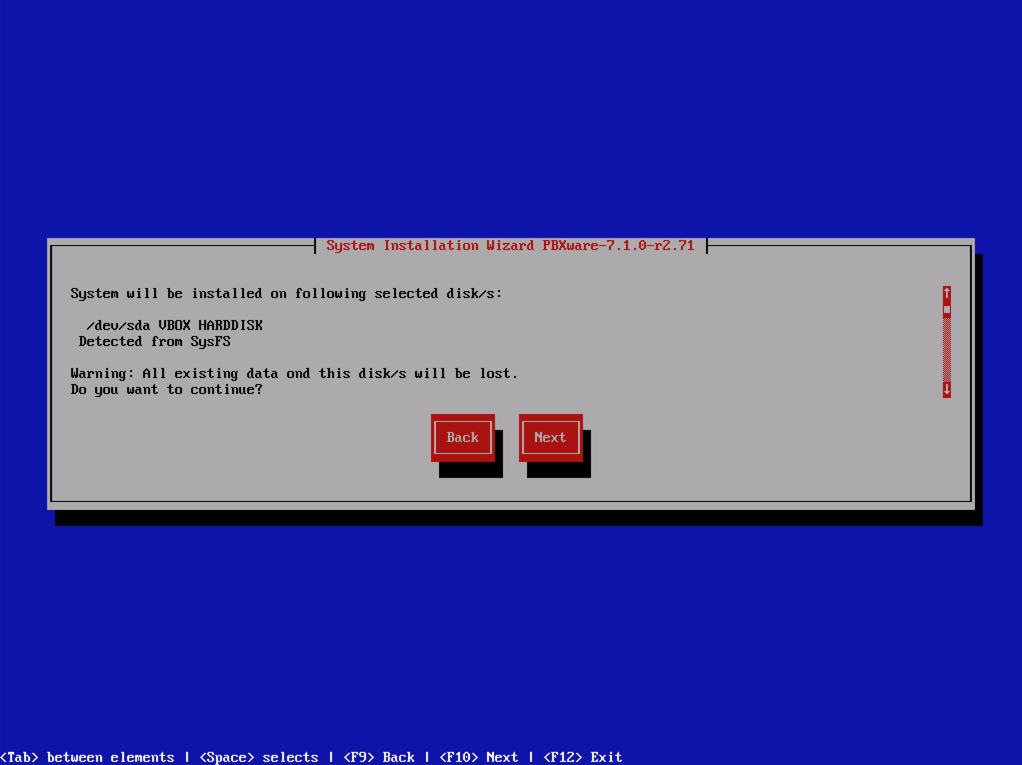
In this step, you can verify the selected disk and press Next after the warning that the contents of the disk you have selected will be formatted. The installation process will start as presented in the image below.
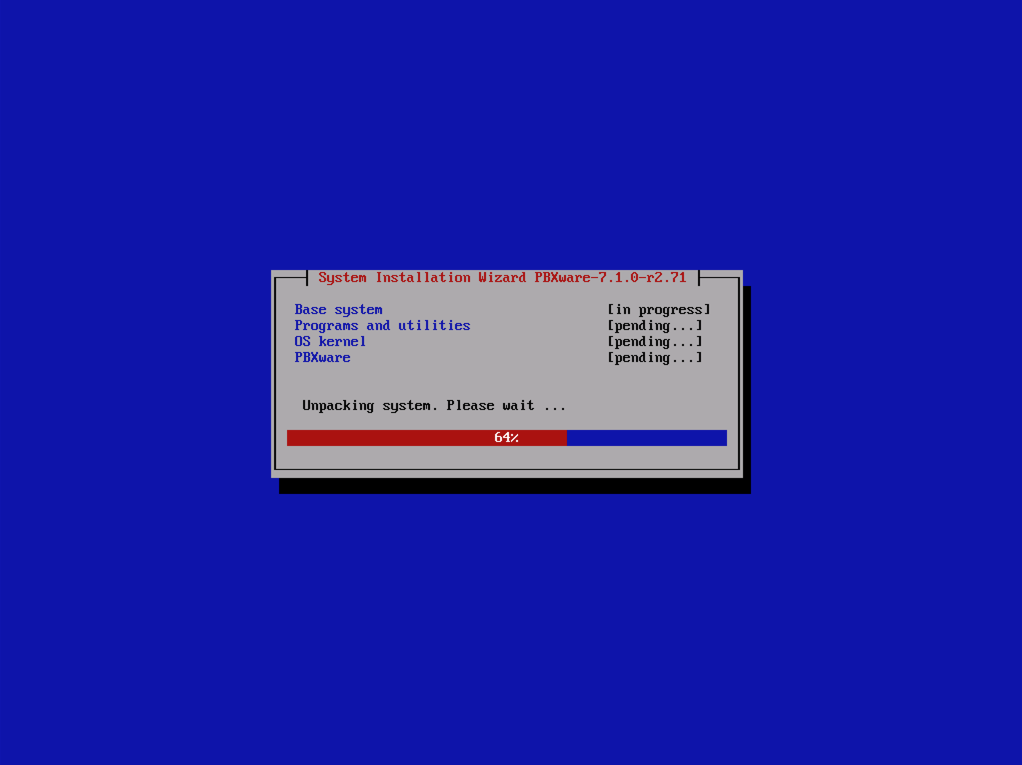
Once the installation is completed, the next step is to assign an IP address to your PBXware instance.
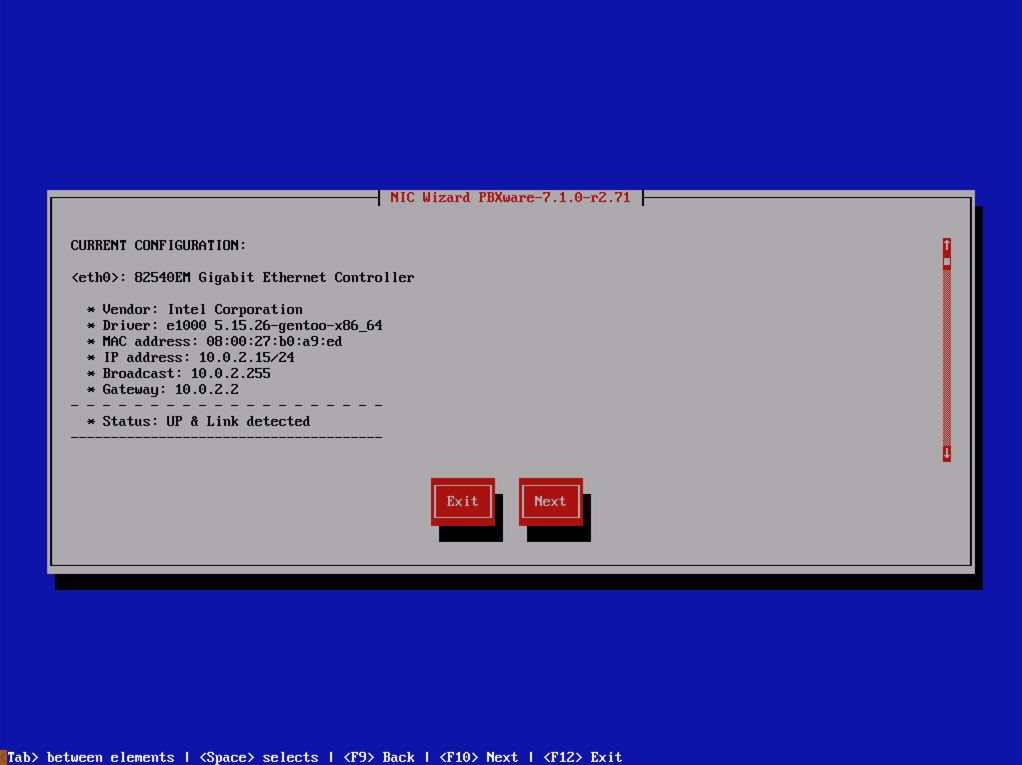
The wizard will provide information about available network adapters and their status. If your network has DHCP enabled, the wizard will automatically show the address it received from DHCP. Press Next to proceed to the next step.
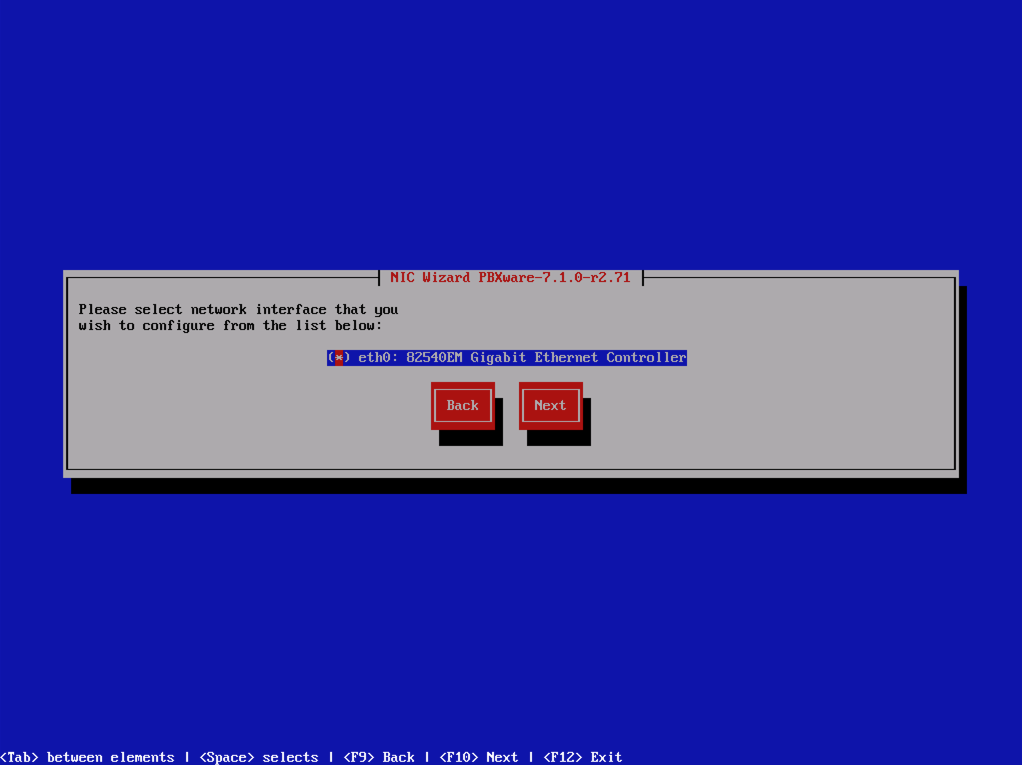
Use TAB and spacebar buttons on your keyboard to select the preferred network adapter and the interface you wish to use as the primary network/internet link and press the Next button. Additional network interfaces can be configured later, after the installation is completed, using SSH and the netsetup tool.
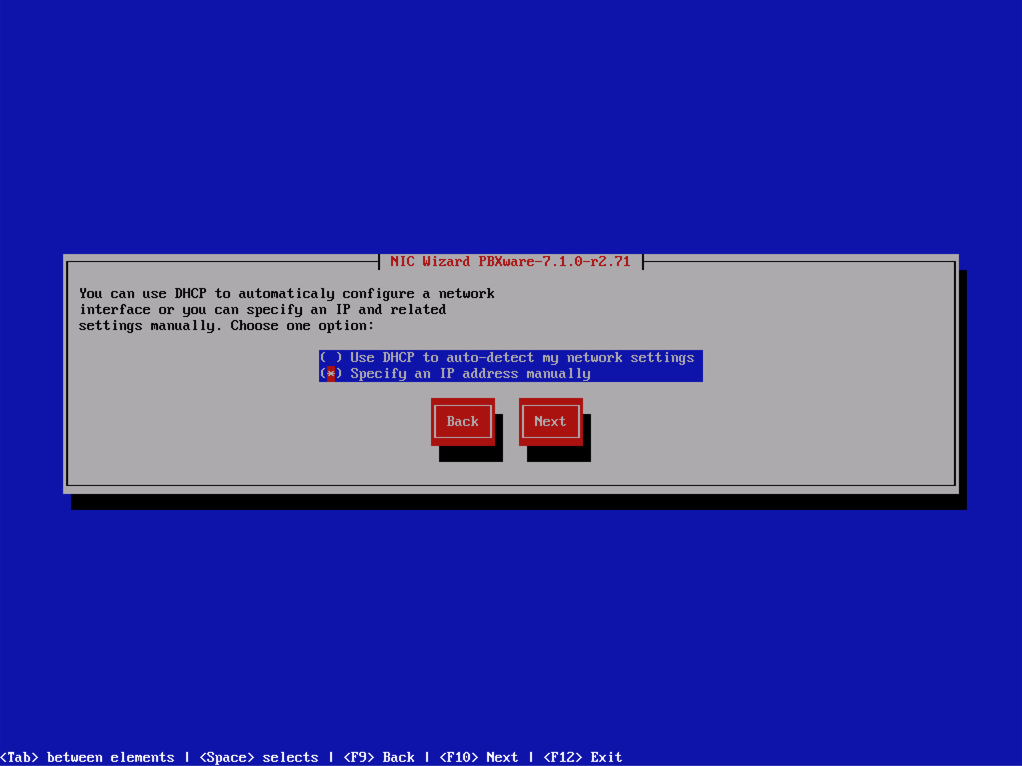
On the network mode menu, please select Specify an IP address manually and proceed to the next step.
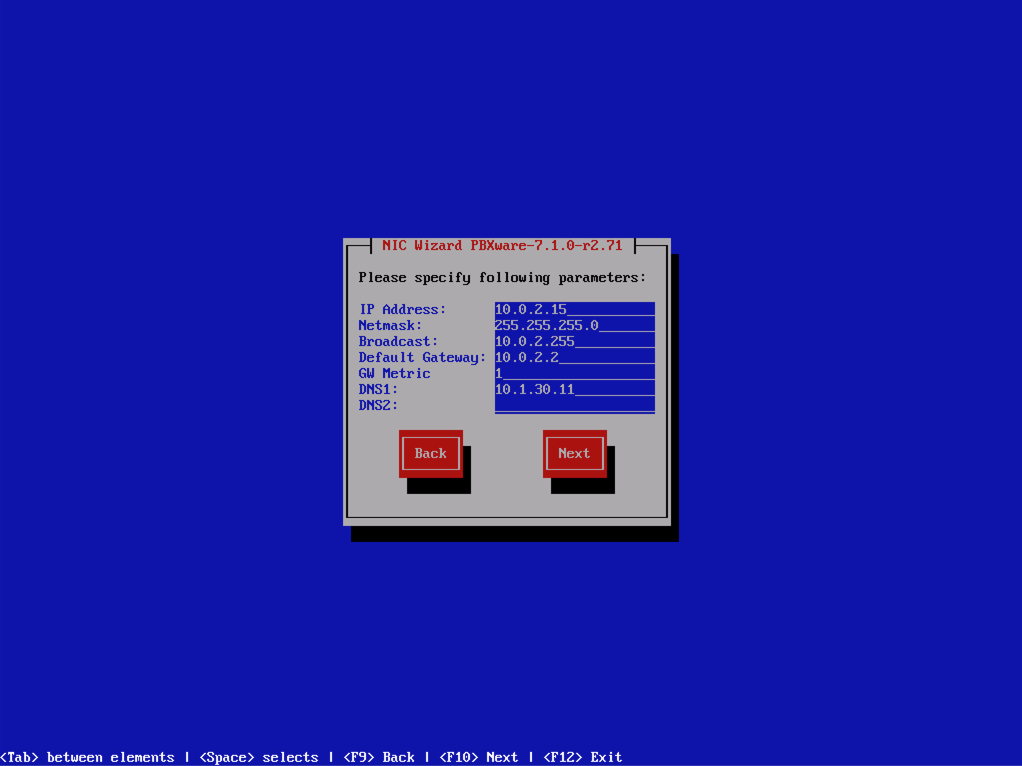
On this page, you must enter the IP address you wish to assign to your new PBXware instance, along with all the necessary network details (gateway, netmask, etc.). Once done, please proceed to the next step. If your server will be exposed on a public IP, please make sure to configure the public network details in this step. If the PBXware is going to be deployed behind NAT, make sure to use the local IP settings in this step.
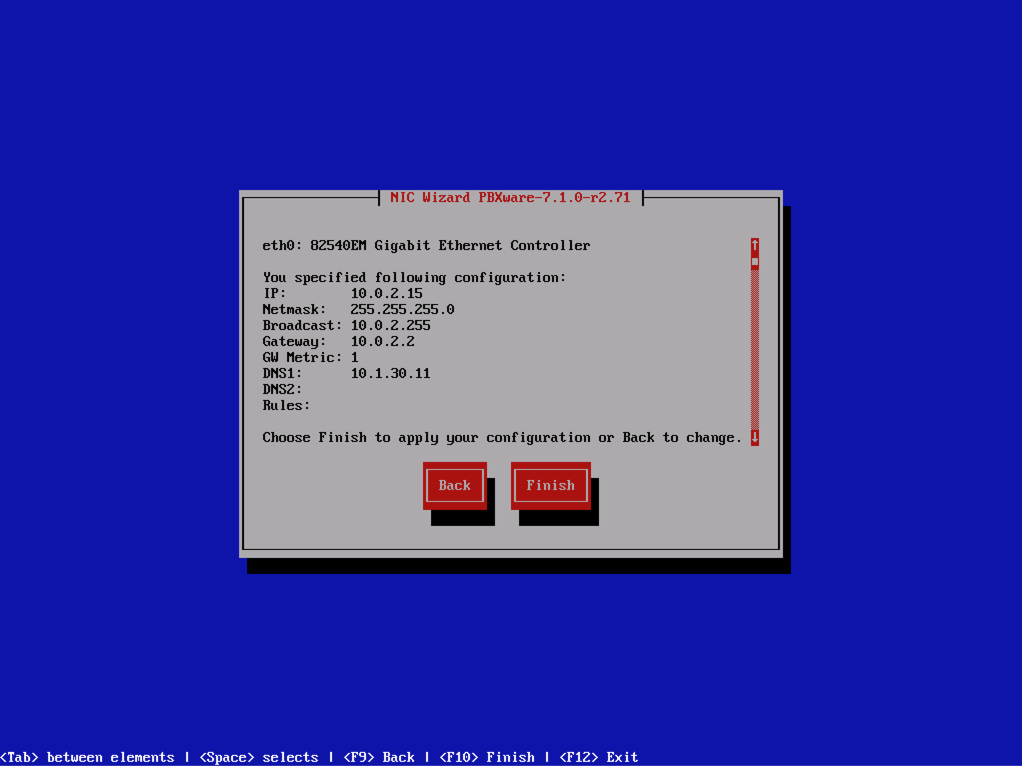
In this step, you can review the network configuration. By pressing the Finish button, the configuration will be applied to the network adapter and the network interface will be initialized.
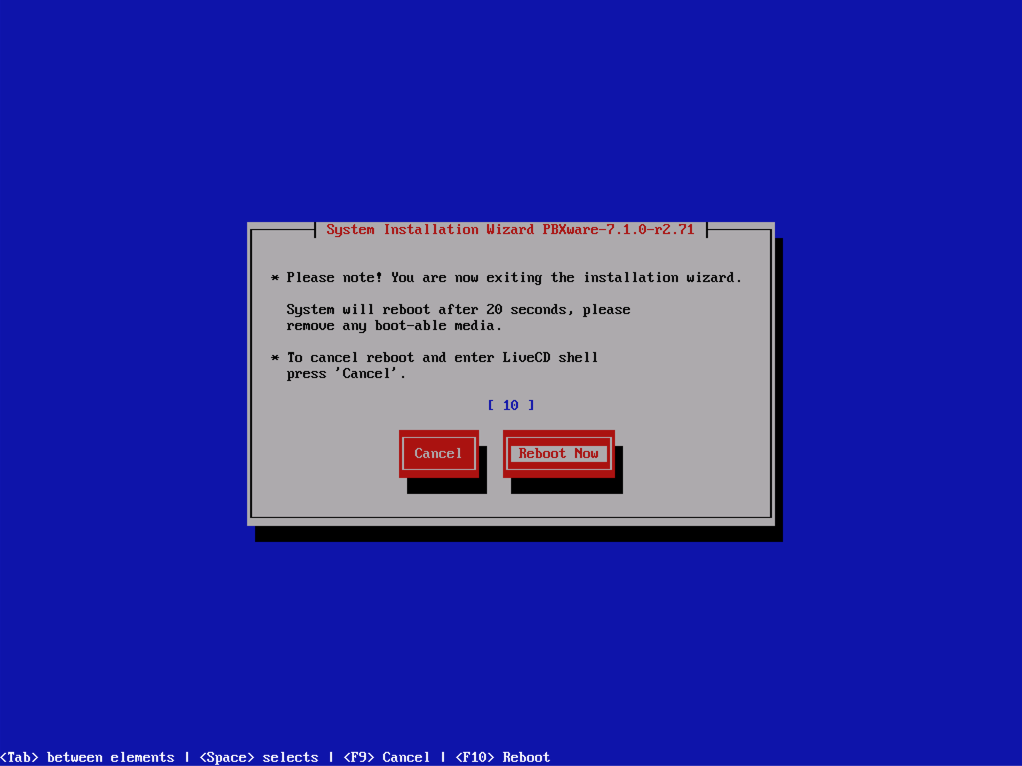
In the last step, press the Reboot Now option to restart the server. We recommend detaching the ISO image before the server starts booting. With this last step, the installation of your new PBXware instance is completed.