¶ PBXWare installation on Ubuntu
¶ Ubuntu ISO
To install PBXWare we first need to install Ubuntu on our machine. To do this we have to download an ISO and prepare an installation medium.
There are several download options, but we recommend to download the 24.04.1 LTS server version of Ubuntu (available on this link).
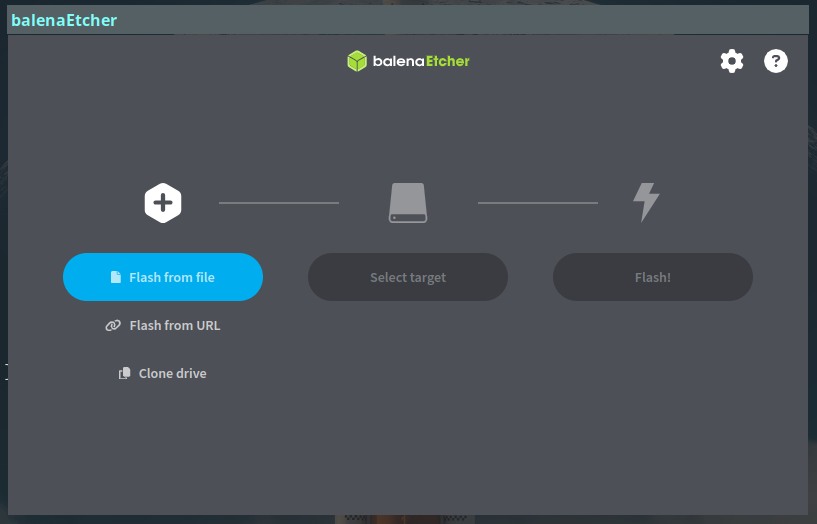
The easiest way of installing the system on a machine is a USB drive. To prepare the USB for installation, we have to make it bootable using a program. We recommend using Balena Etcher (available here).
If you are on a Windows machine download the installer and run it, but if you are on a Linux machine then the simpler option is to:
- download the latest AppImage
- cd into the Downloads folder
- give it run privileges with: chmod +x ./balenaEthcher-.AppImage
- run in with ./balenaEtcher-.AppImage --no-sandbox
You should see this window appear, from here select downloaded ISO, drive, and press flash.
When turning on your machine make sure to boot into the flashed USB drive.
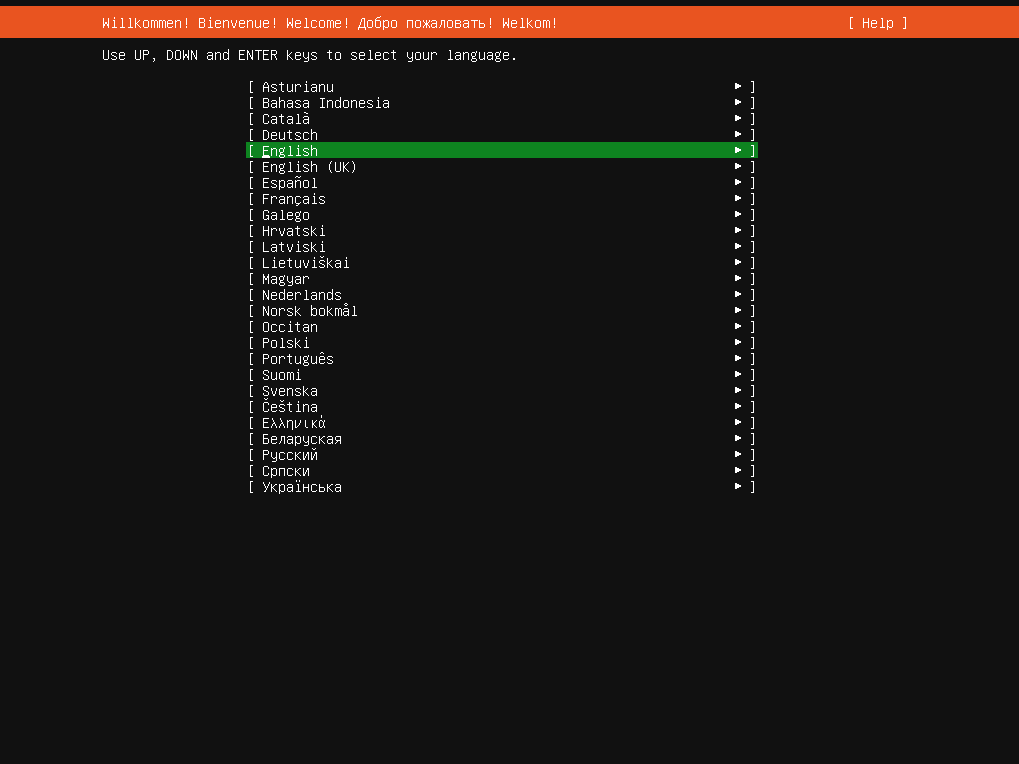
After some time you should see this screen:
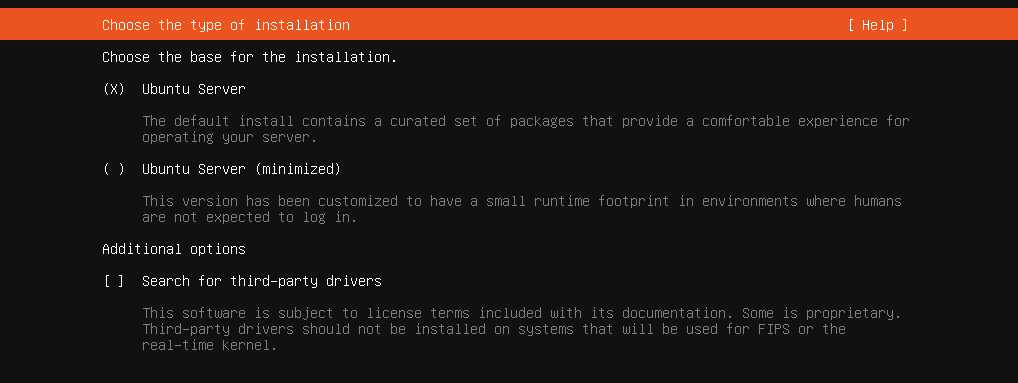
Select Ubuntu Server
Installation will auto-detect available network:
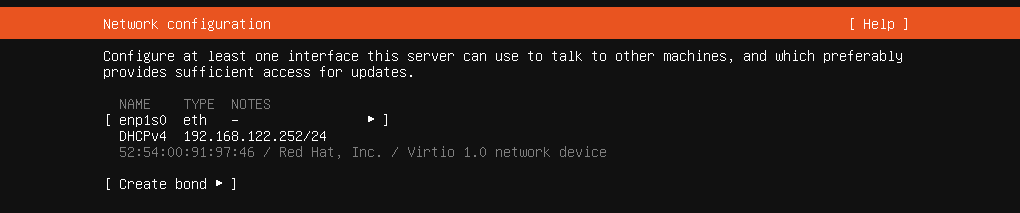
Modify it if in case you need something different.
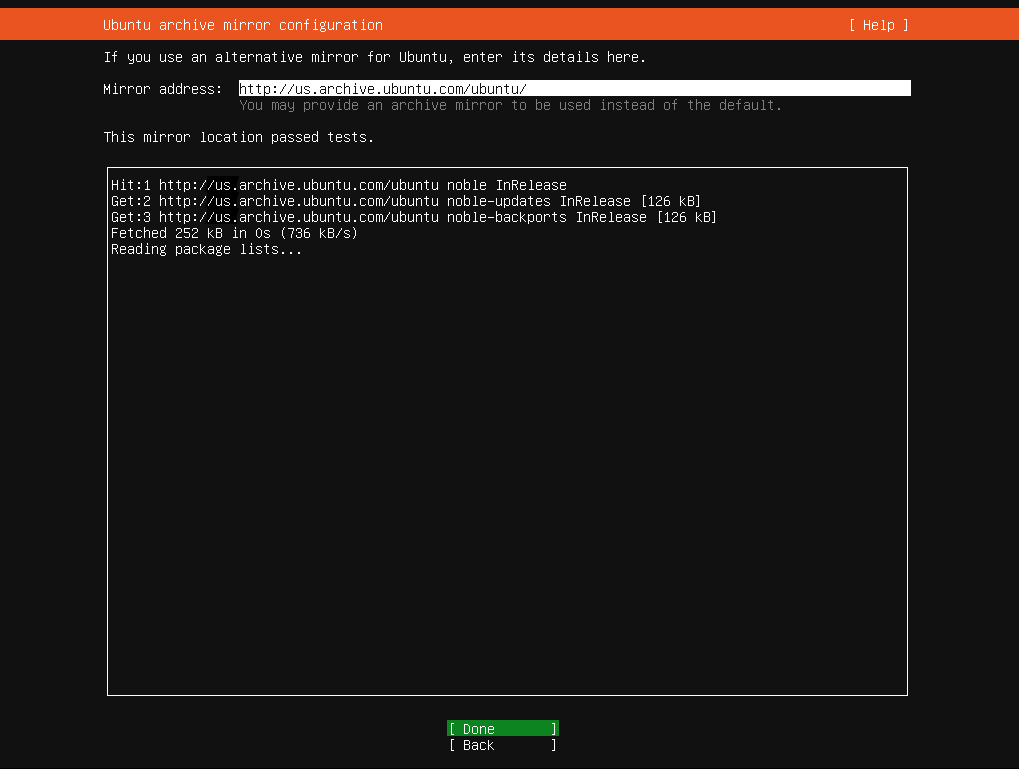
This step checks for suitable update servers for your machine:
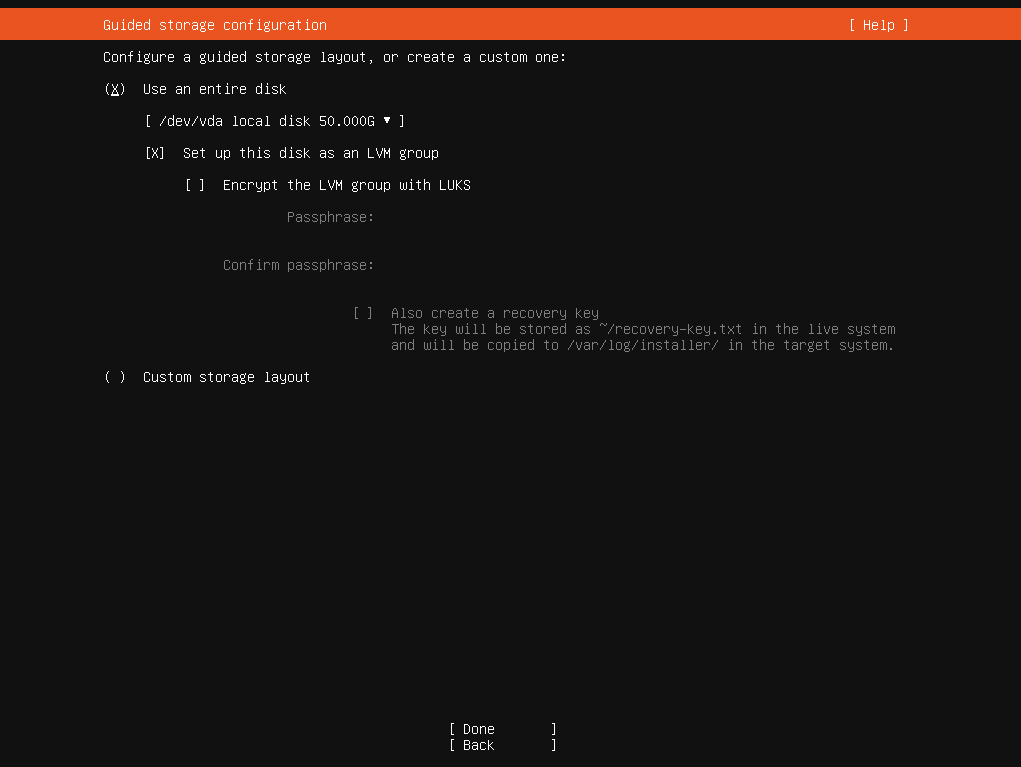
Select a drive on which to install the OS itself, or create a custom layout. The default option will overwrite the entire disk and data will be lost if there is any on it.
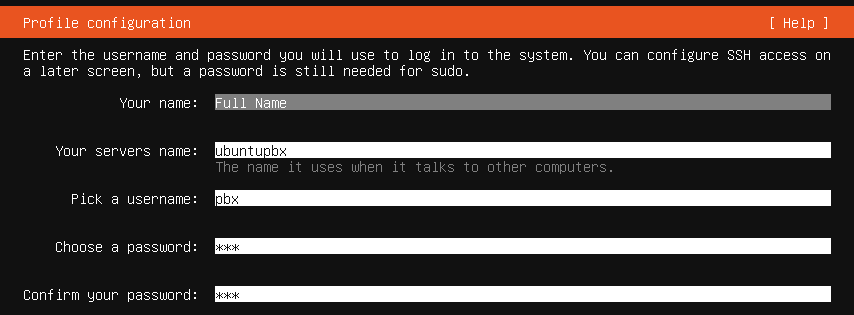
Enter your credentials:
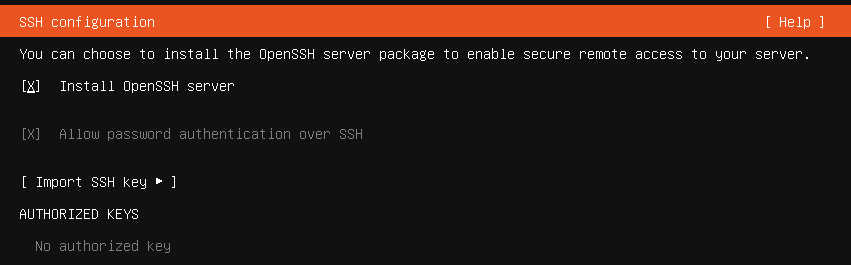
Check Install OpenSSH server box to allow SSH connection:
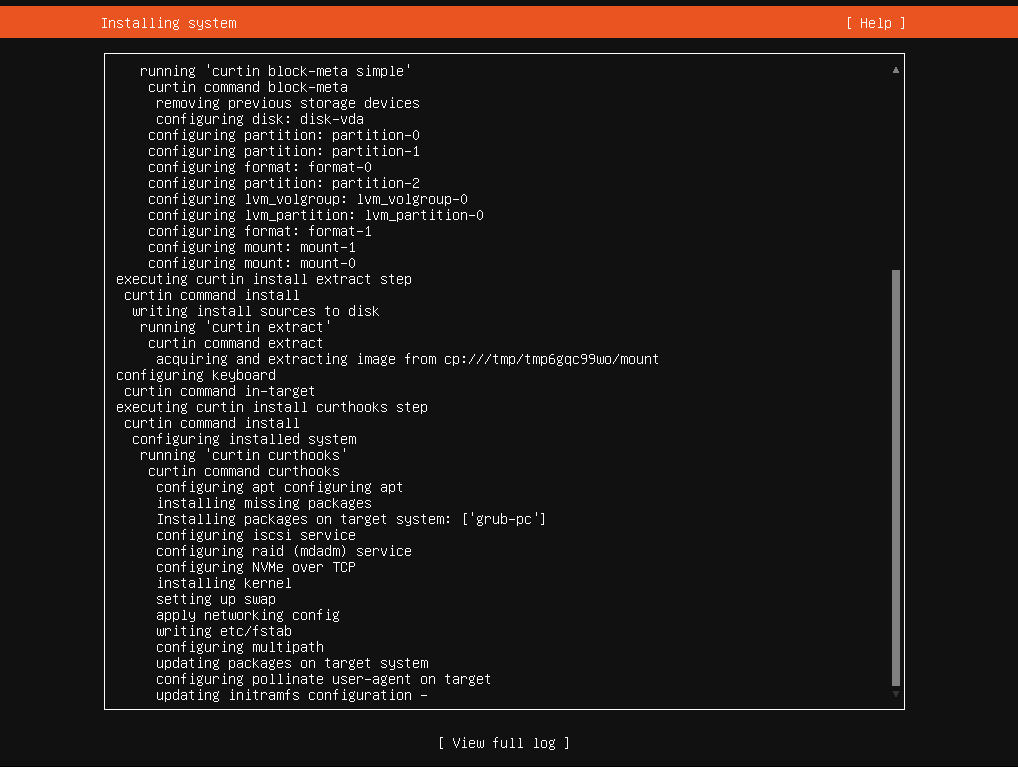
Ubuntu will proceed with the installation:
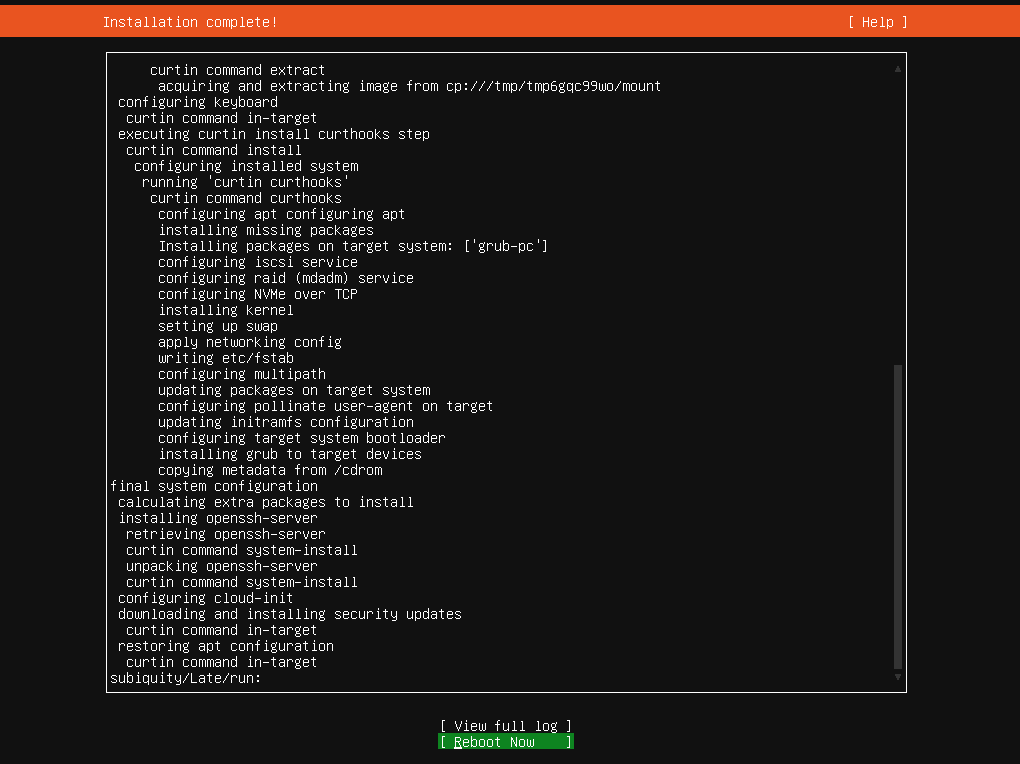
Once the Installation is complete, press Reboot Now and remove the installation medium.
Now enter your credentials to log into the Ubuntu system.

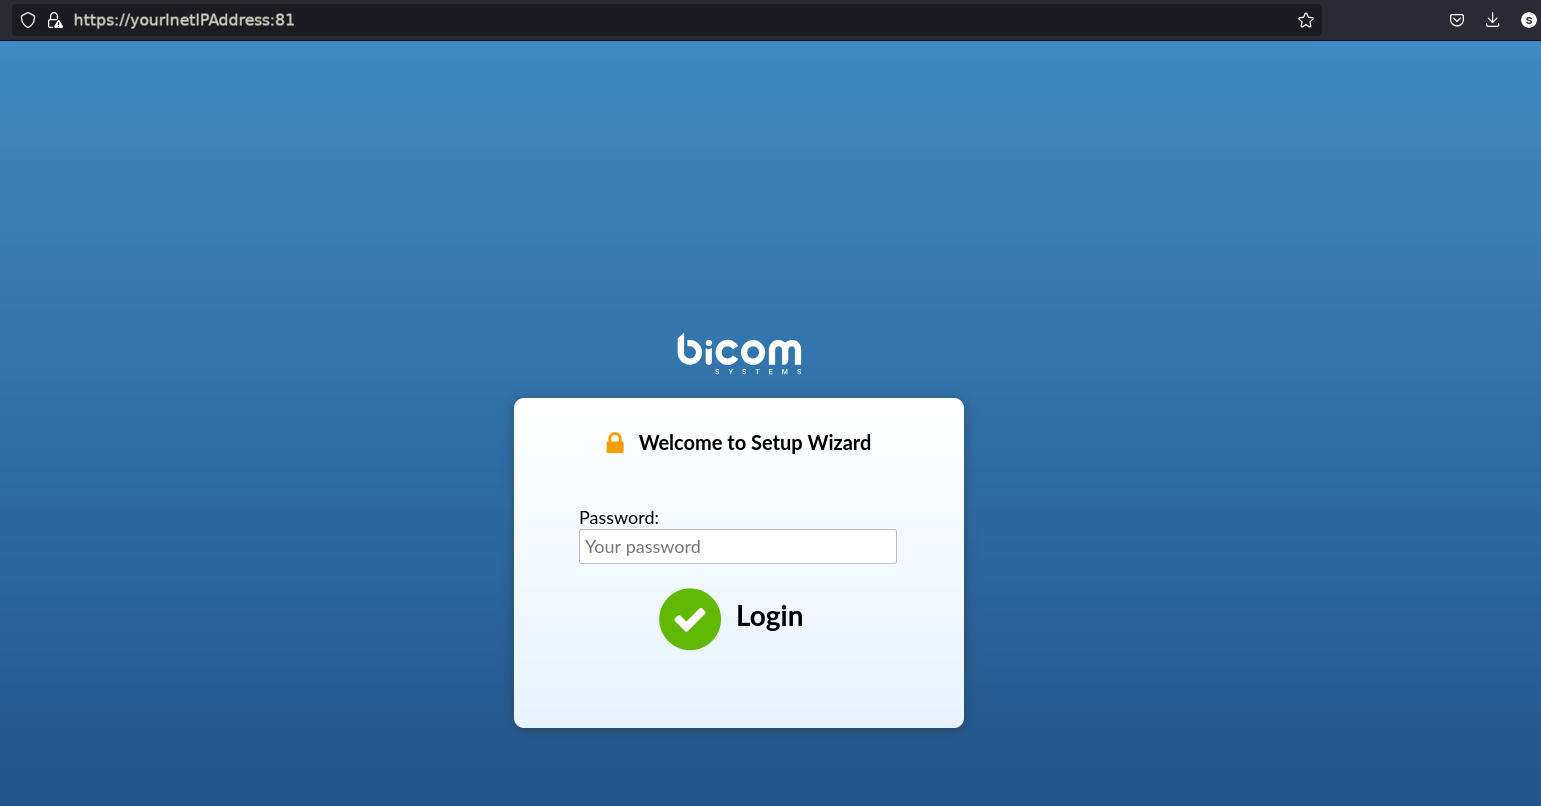
The "inet" IP shown in the output is the one you’ll use to access PBXware.
Open a web browser and enter yourInetIPAddress:81.
NOTE: In the example below, the IP is 192.168.122.252, but users should enter their own "inet" IP on port 81 to reach the Setup Wizard.

To download the script for PBXWare installation run the following:
wget https://downloads.bicomsystems.com/updates-7x/install-script/install-pbxware-v7x.sh.gz
*replace 7x with the actual version to download.
Example:
wget https://downloads.bicomsystems.com/updates-7.4.0/install-script/install-pbxware-v7.4.sh.gz
Run the following commands to unpack and give run permissions:
-
gunzip install-pbxware-v7x.sh.gz
-
chmod +x install-pbxware-v7x.sh
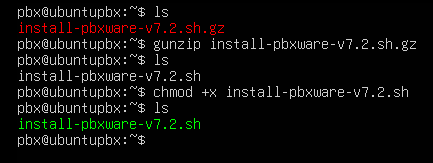
- Run ./install-pbxware-v7x.sh and follow the prompts
it is recommended to first log into sudo using sudo su and then run the install, but you can enter sudo ./install-pbxware-v7x.sh
After running the installation script successfully you should see this:
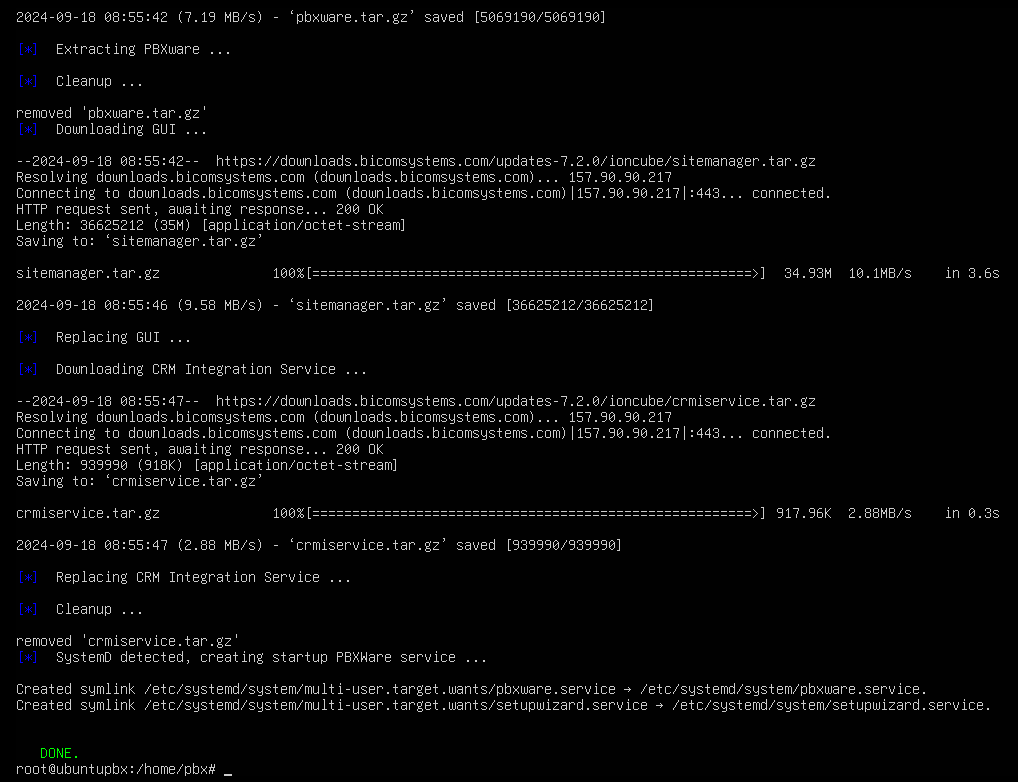
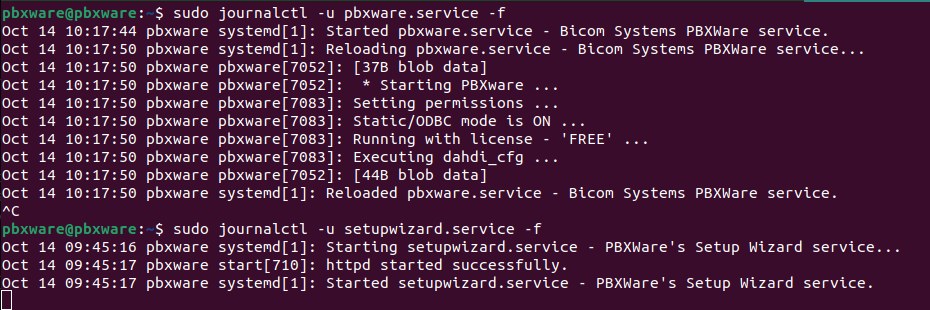
Both services should now be running:
The installation is now complete and the system is ready.
Connect to this system to configure our PBXWare.
NOTE: The initial PBXware installation comes with a default password: "pbxware".
¶ The systemctl
The systemctl command is used to manage and interact with systemd services on Linux. It can start, stop, restart, reload, as well as provide information about the status of services.
systemctl start / stop / restart / reload pbxware.service
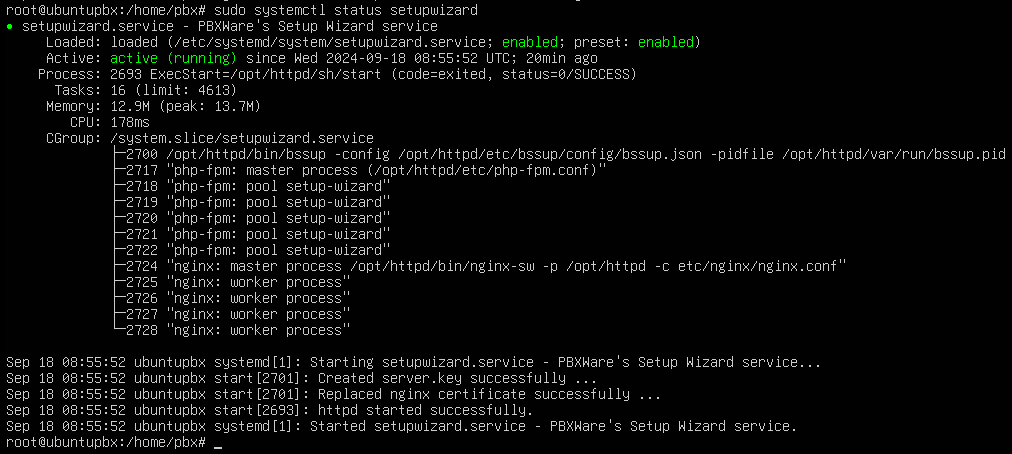
systemctl start / stop / restart / reload setupwizard.service
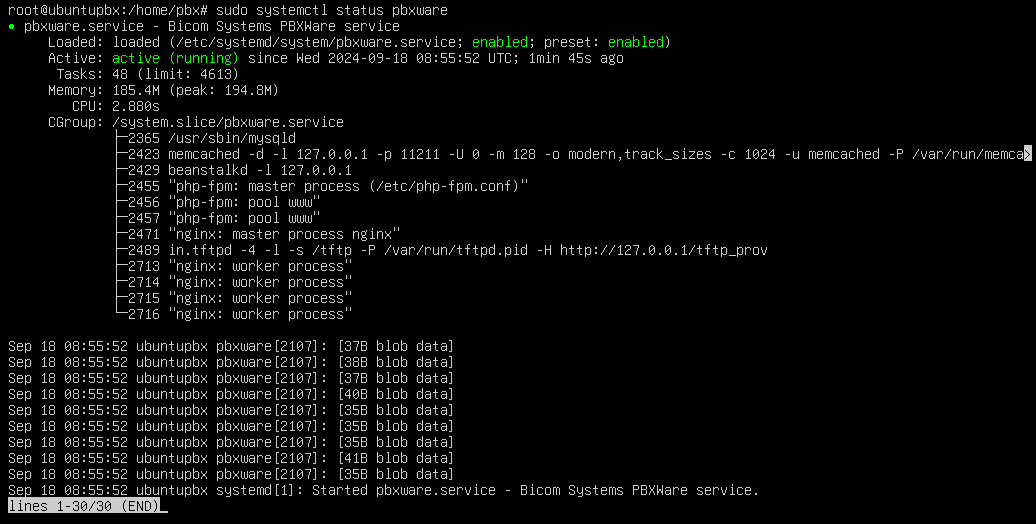
systemctl status setupwizard.service
systemctl status pbxware.service
¶ journalctl
Since the PBxware is running on Ubuntu, journalctl is a command-line tool that can be used to view and manage log messages created by the systemd system and service manager. It provides access to the system's event logs, including boot logs, service statuses, error messages, and other system events.
The journalctl -u command is used to filter and display log entries related to a specific systemd service or unit in Ubuntu. This is particularly useful for troubleshooting or monitoring the behavior of individual services. You can monitor pbxware and setupwizard logs as they are being written by using the -f option.
sudo journalctl -u pbxware.service -f
sudo journalctl -u setupwizard.service -f